Screen Printing Workshop
Lead by Ryan
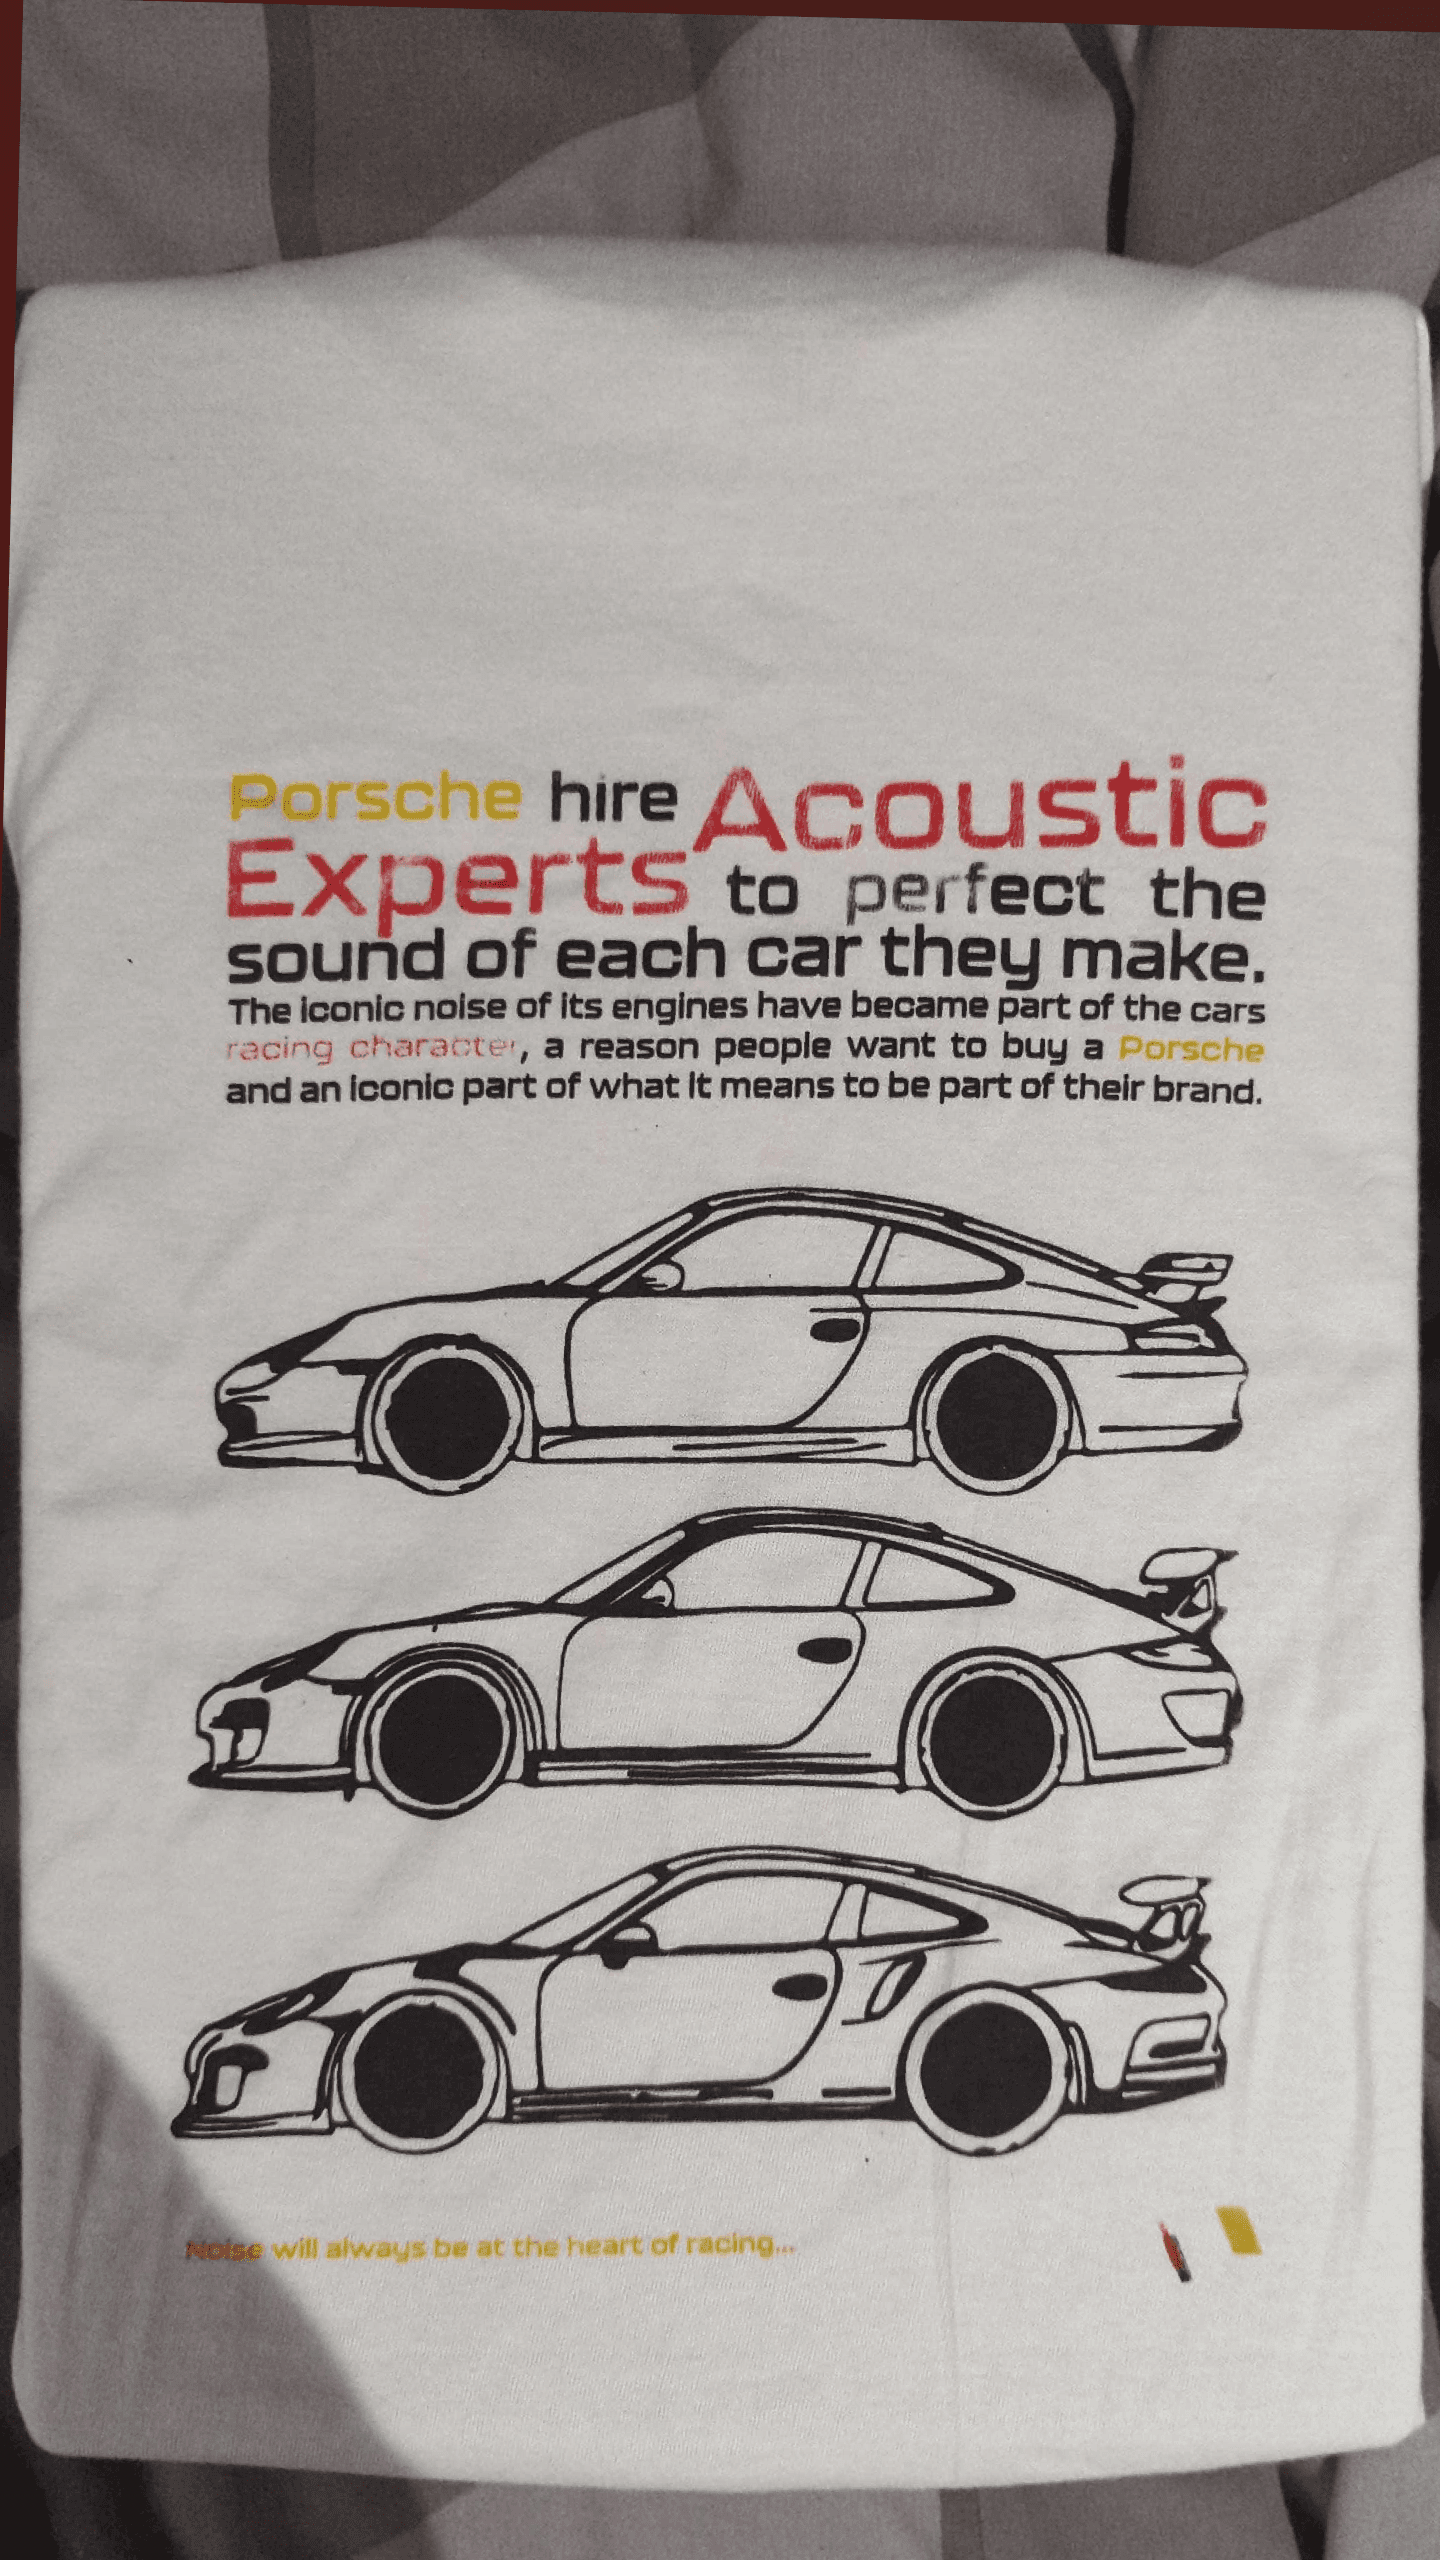
Personal Piece: T-Shirt print
5 min read 05.12.23
The screen printing workshop was by far the most interesting workshop of the 3. I have always been interested in printing my designs onto clothes and this workshop has provided me with the tools to make my own designs now. Ryan covered the workshop with us. The most important part of the process is creating the screens to print onto.Without a good screen you cannot create a good print as the design will have imperfections. To start you print your design onto acetate paper and place it into a UV box, which is essentially a dark box that stops light from contacting the design. After 1 day you can remove the design from the box, turning the lights off while doing so, and place it under a high intensity uv light ontop of the screen to burn the design onto the screen. Screens use light sensitive emulsion which allows the design to be transferred onto it. The screen is then jet washed to clear the screen leaving the outline of the design on it. Once the screen has dried it is ready to print onto. You place the dry screen into a clamp, using paper to block out the edges when printing. Now using the acetate from previous, you can align a piece of paper under the screen to make sure you print into the correct position. Tape everything
down to hold position. Now you can mix the colours. Standard practice is a 50/50 mix of acrylic paint and screening medium, however to create darker or lighter colours you can change the balance to 60/40 or 70/30. The paint needs to be mixed thoroughly to avoid staining the shades. Ryan then took the paint and layered it on thick at the top of the screen leaving plenty of excess. Squeegees are used to print the ink through the screen, dragging it across the screen multiple times to get a clean result. The squeegee must be held at a 45 degree angle to avoid inconsistent spreading of ink. Once this is done you can remove the screen and repeat the process with the next layer, jet washing each screen as you go and saving any spare ink. I found the process really satisfying to watch so for my own exploration I decided to screen print a shirt for one of my existing projects. I followed Ryan's process with him guiding me and I was pretty happy with the outcomes considering it was my first try. A few uneven prints and patchy areas but overall it was great to try out printing my own shirt and mixing my own colours from scratch too.
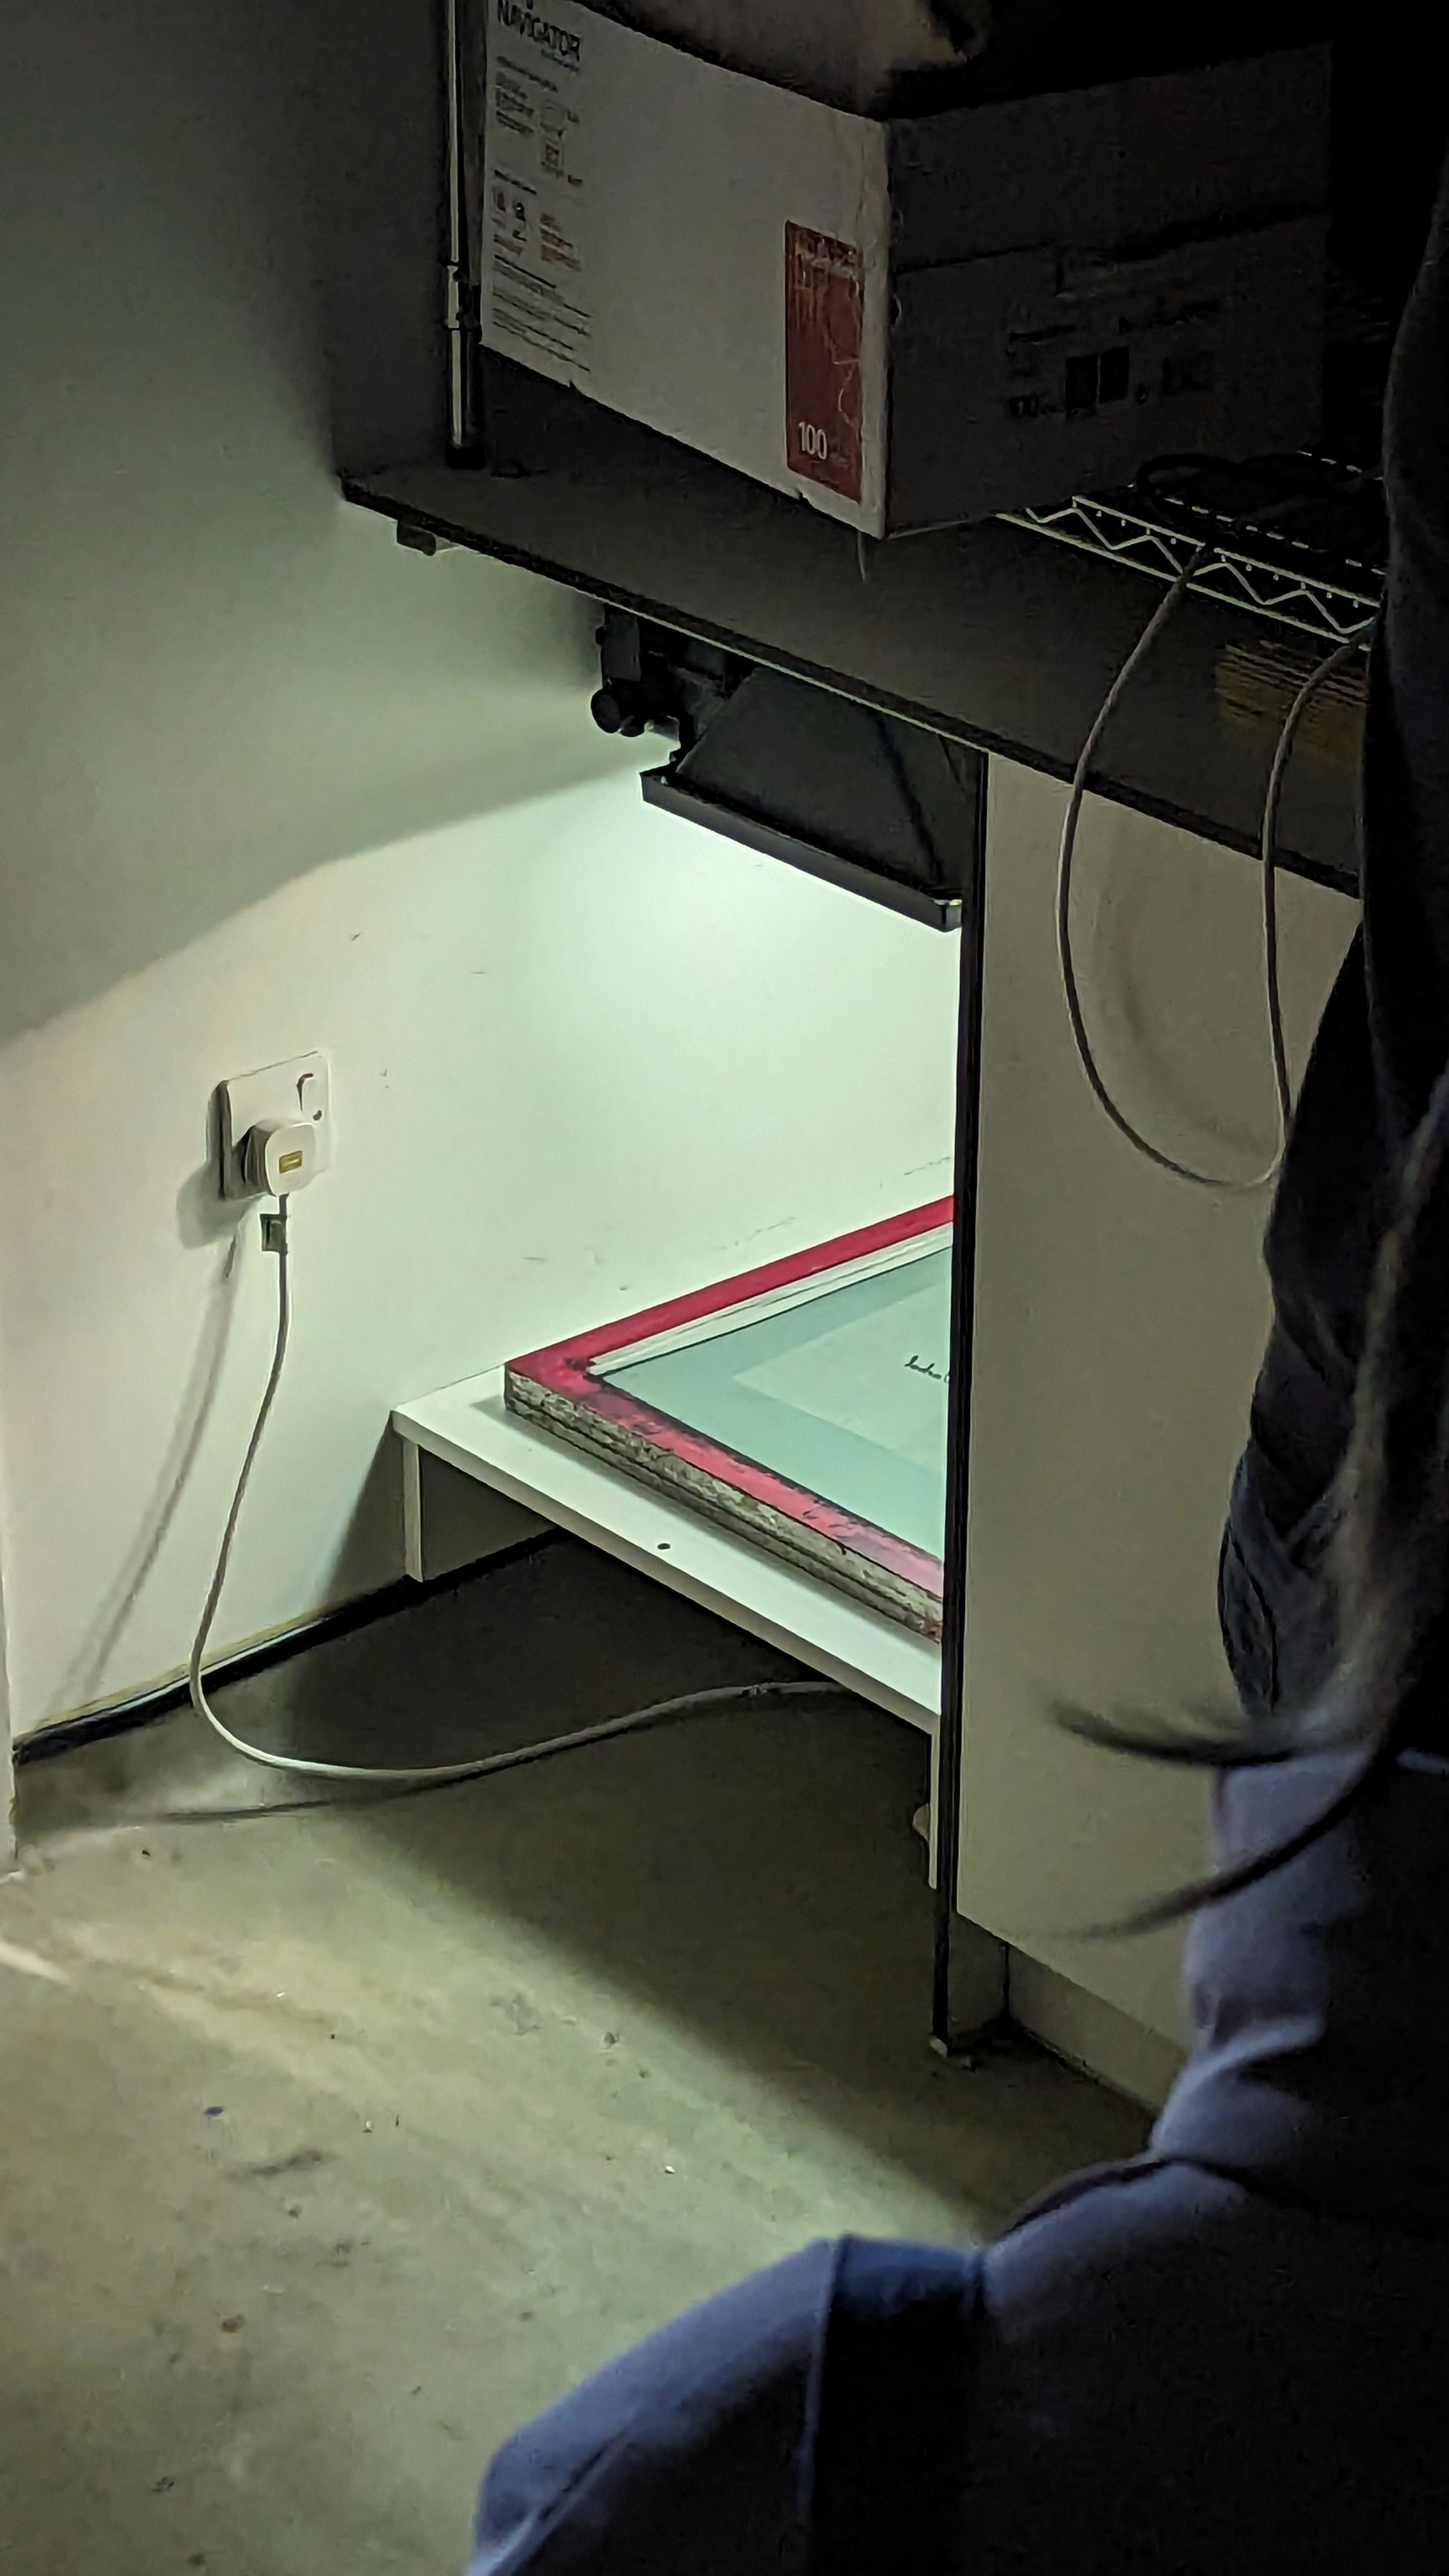
Screen Exposing
Exposing the screen is a crucial and initial part of the printing process. Once the design is printed onto the asotate it is locked in a dark box to deprived of light for around a day. Once that time has passed it is removed in the dark and placed under a high intensity UV light to expose the light onto the screen. The ink on the screen receives the pattern from the asotate and is now ready to develop into a full screen.

Screen Washing
Once the design is exposed onto the screen you develop it by blasting it with a hose pipe. This removes the exposed ink from the screen leaving a clear cutout of the pattern. This may take a few minutes to do as the ink can take some time to peel away but its better to be patient than try and speed up the process by blasting it more and ruining your screened design. The screen needs to be dried before it can be used so you can either leave it to dry or use a hairdryer to speed it up.
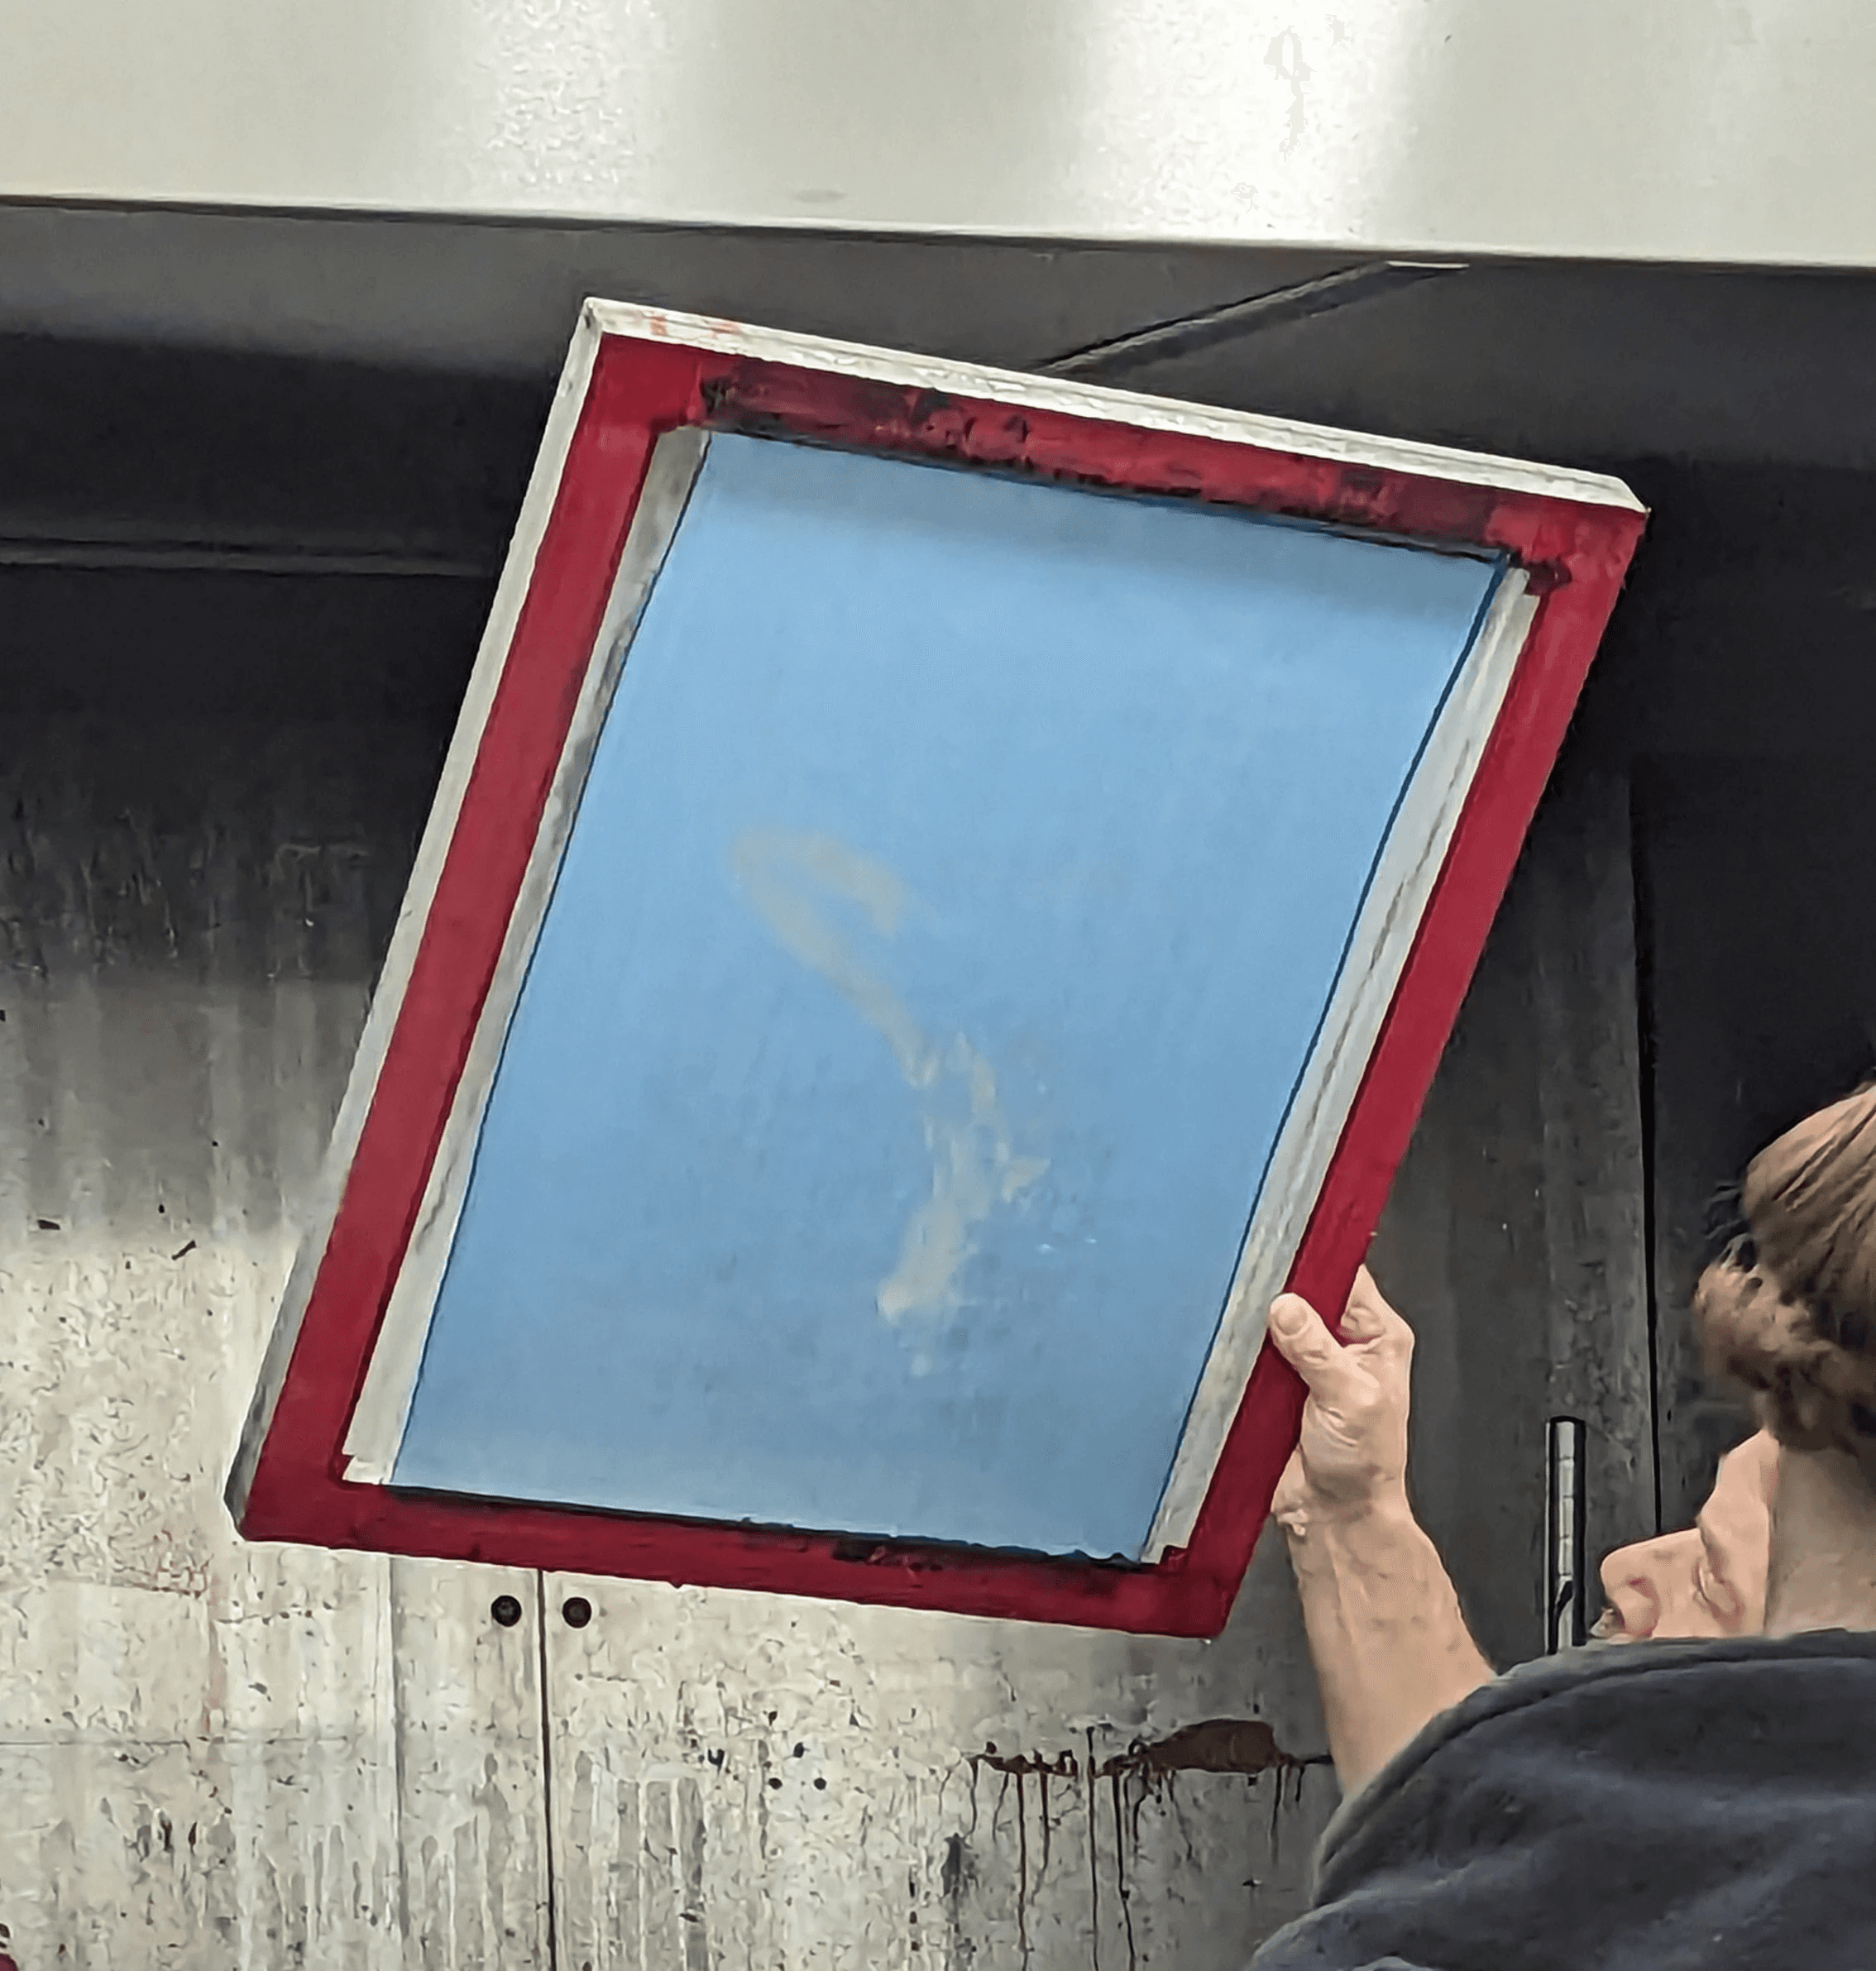
Revealing design
Once the screen is dried the best thing to do is hold it up to the light to double check the design has developed correctly. If not you will have to try again with the hose pipe or scrap the screen and start over. Good results come from patience and planning so make sure you leave the design in darkness for long enough before exposing it and make sure you expose it for a longer period to make sure it fully develops before blasting it with the hose.
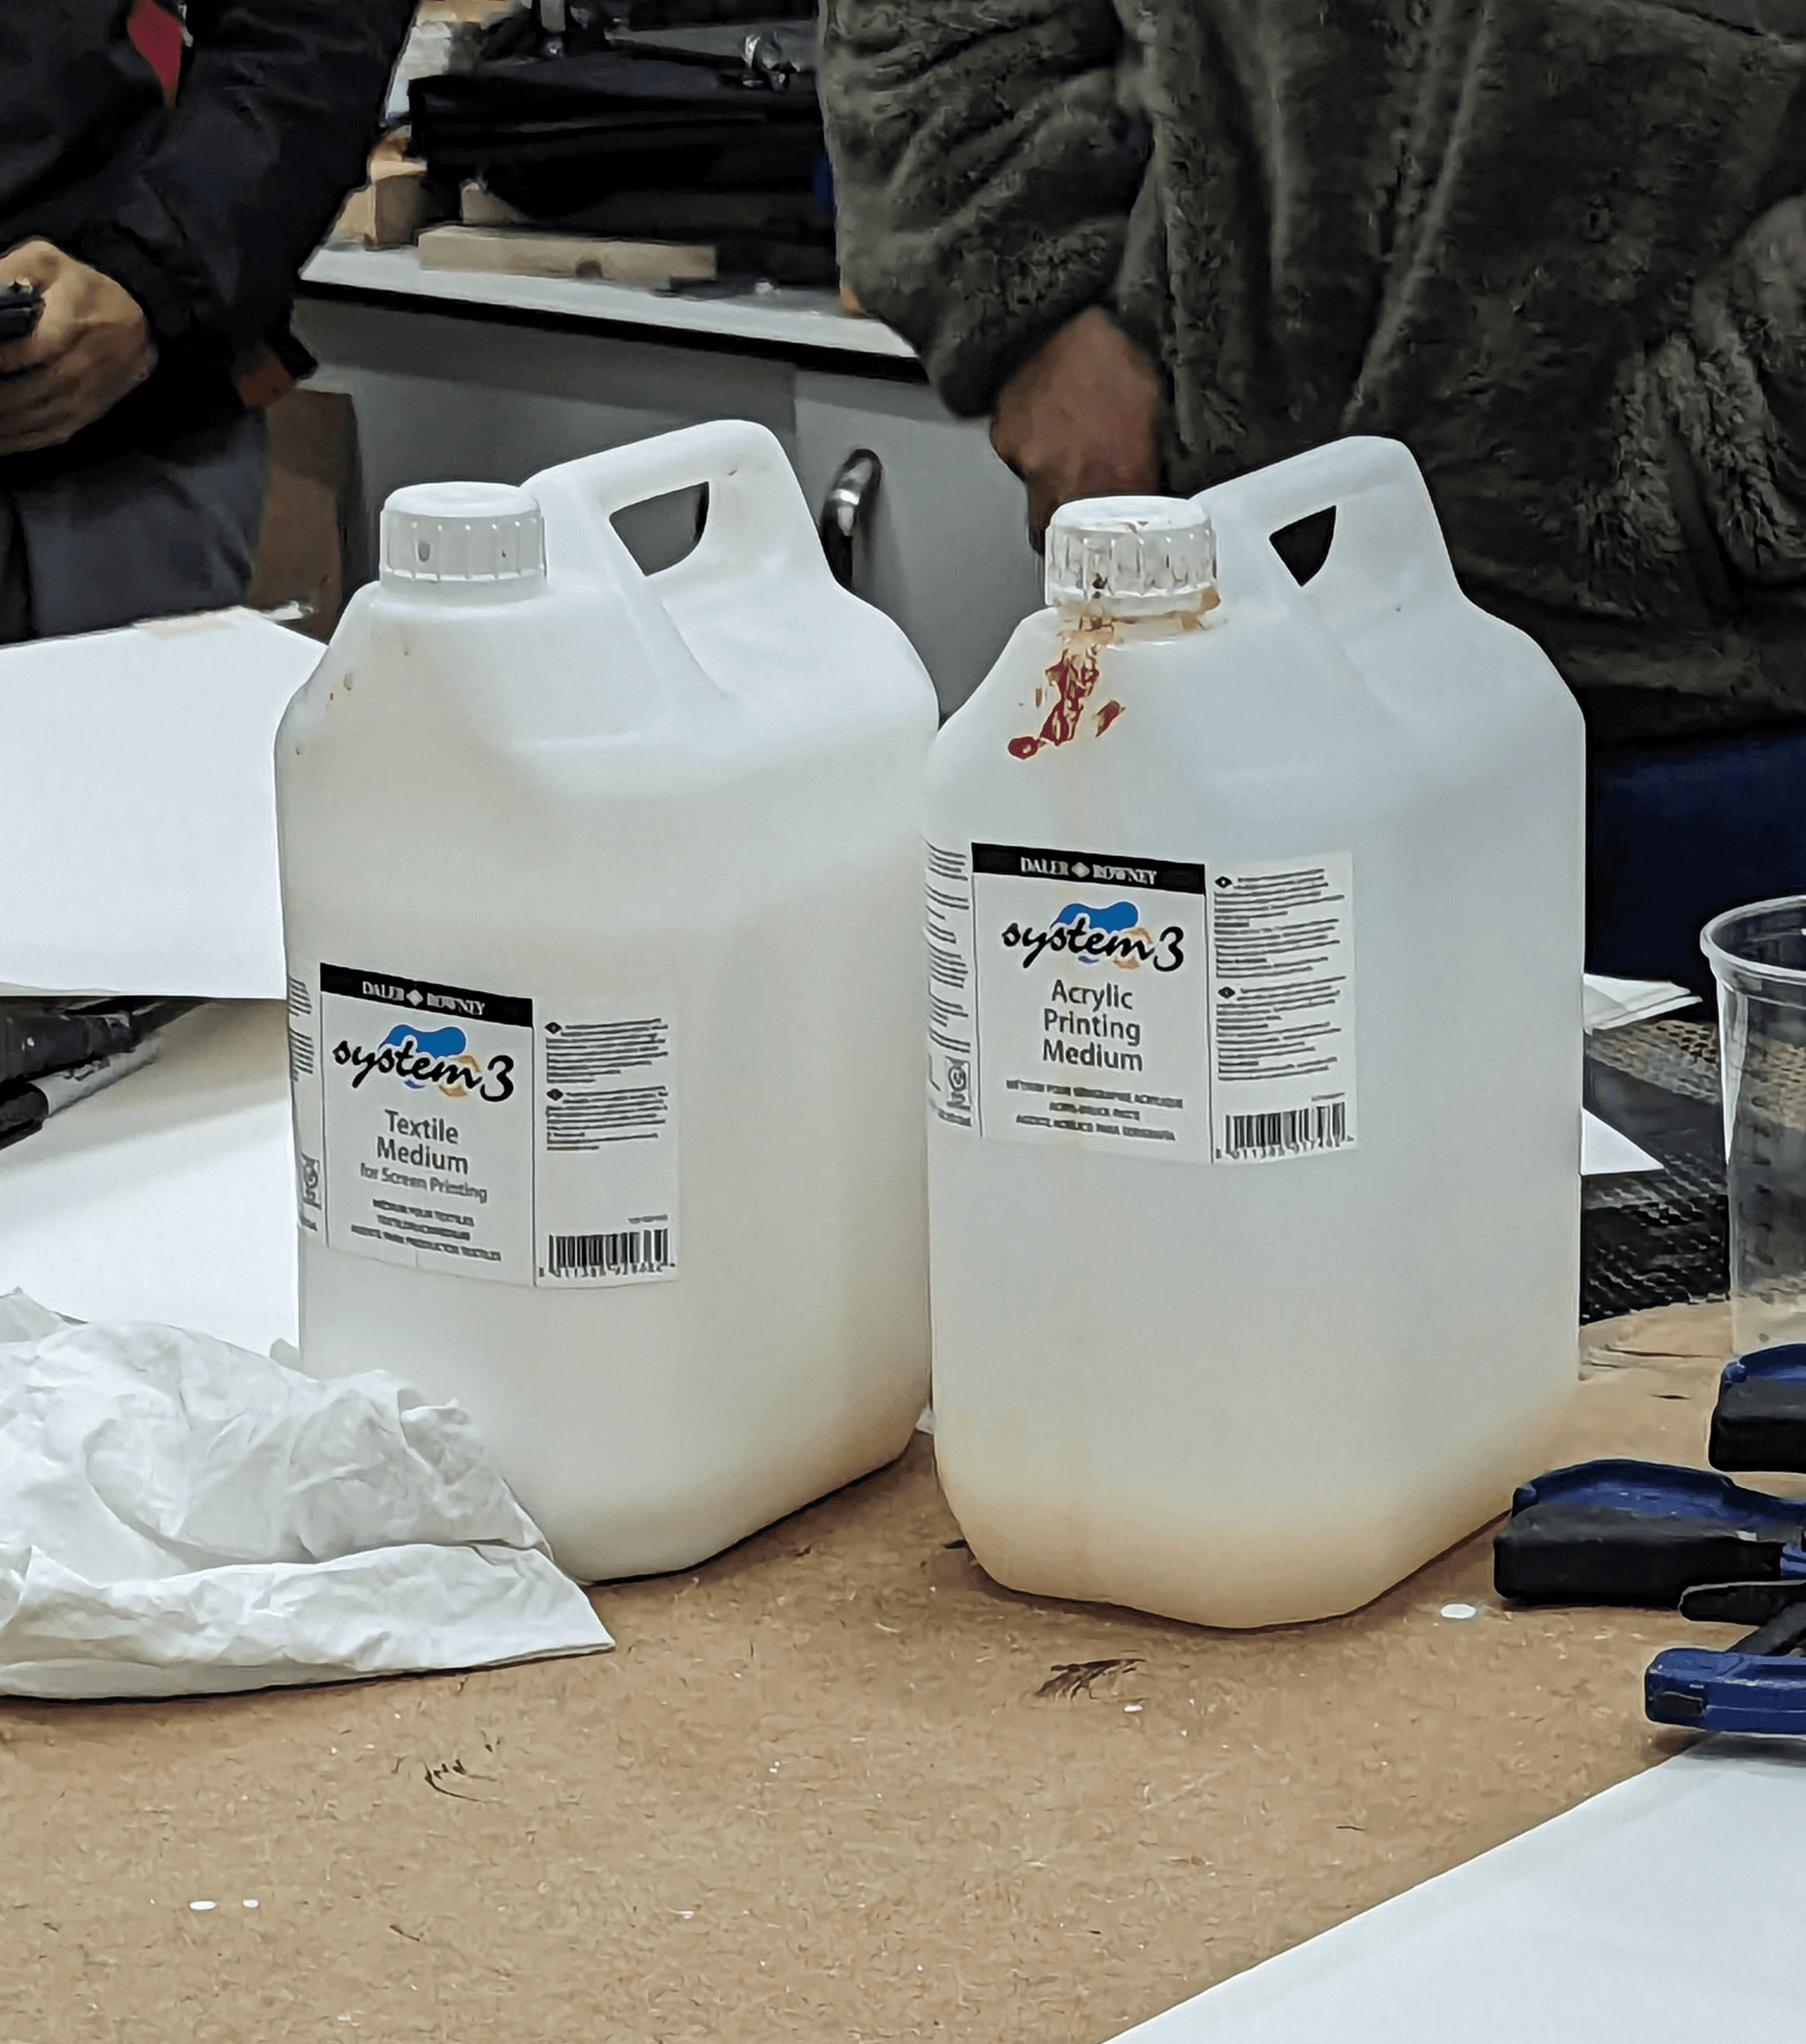
Mixing colour
The paint used to print onto the screens is acrylic mixed with printing medium. This is to make sure the ink dries and stays on the design as well as guaranteeing that it will stay on in the wash. The mix is usually 50/50 between paint and medium but you can alter the mix to create a lighter colour or a deeper colour by adding more or less medium. Good ratios are usually 60/40 or 70/30 to make sure there is still enough medium to make the designs stick well.

Printing onto screen
Squeegees are used to print onto the screens. You get different types of material which are softer and harder, suited for different material applications like paper, clothing or even wood. The application needs to be even and repeated 3x to get a full and finished result. A great way to get good results from this is to angle the squeegee at 45 degrees so the edge touches the screen, spreading ink evenly.
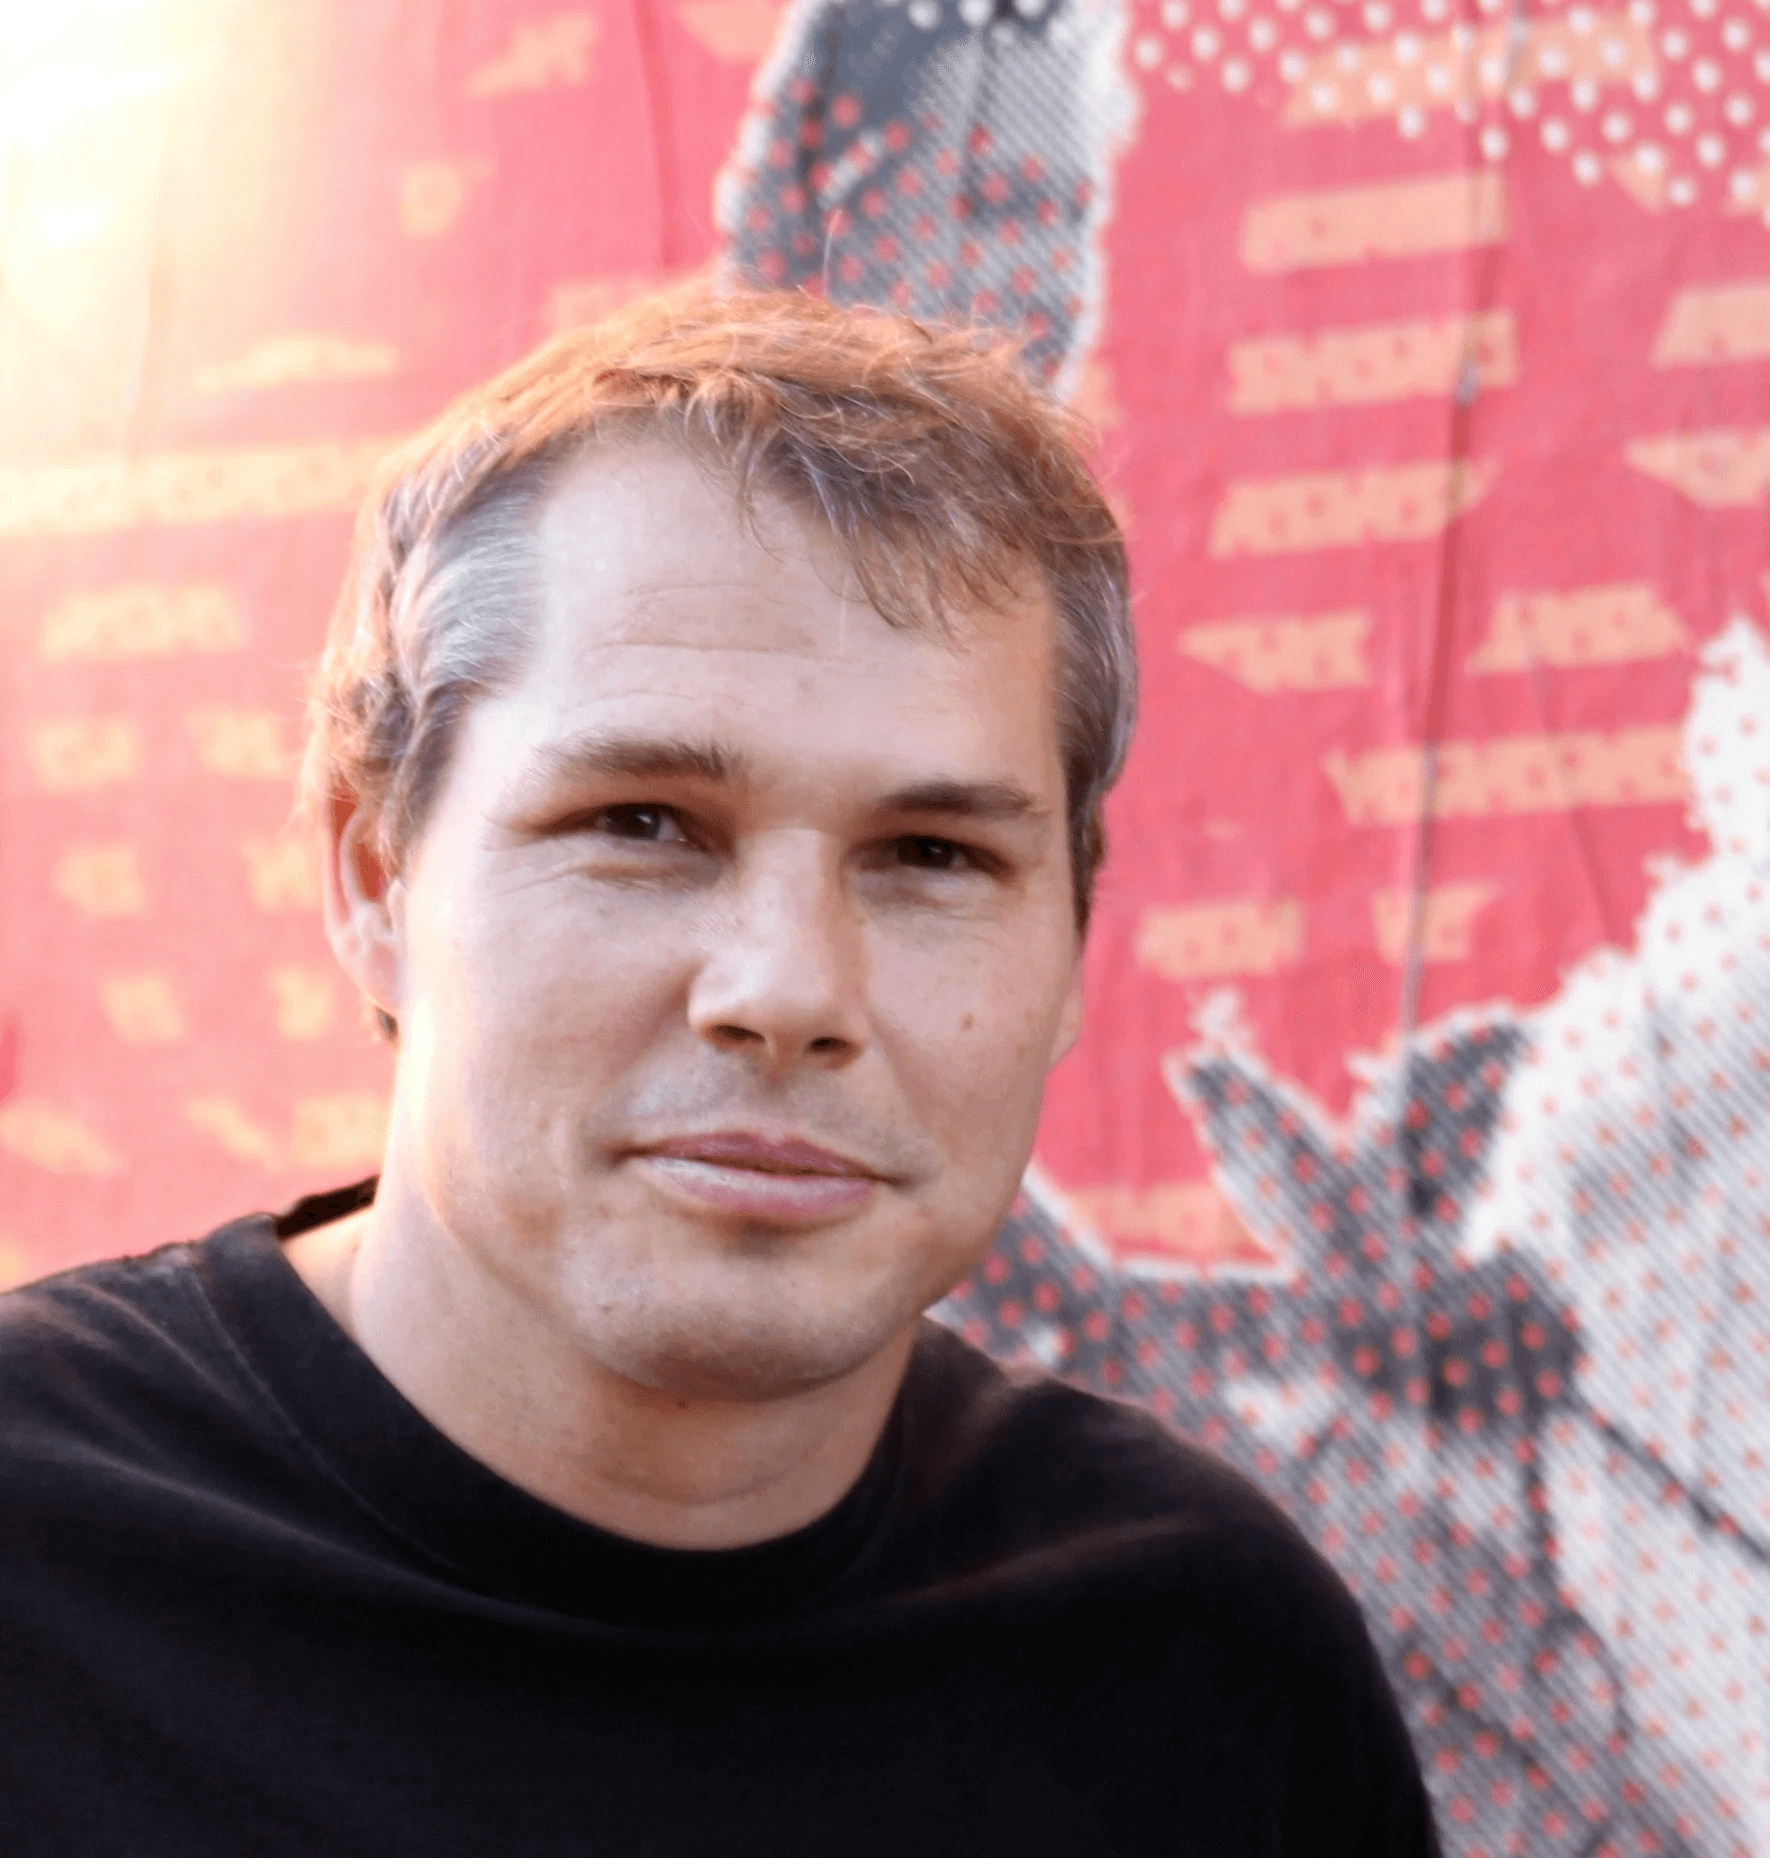
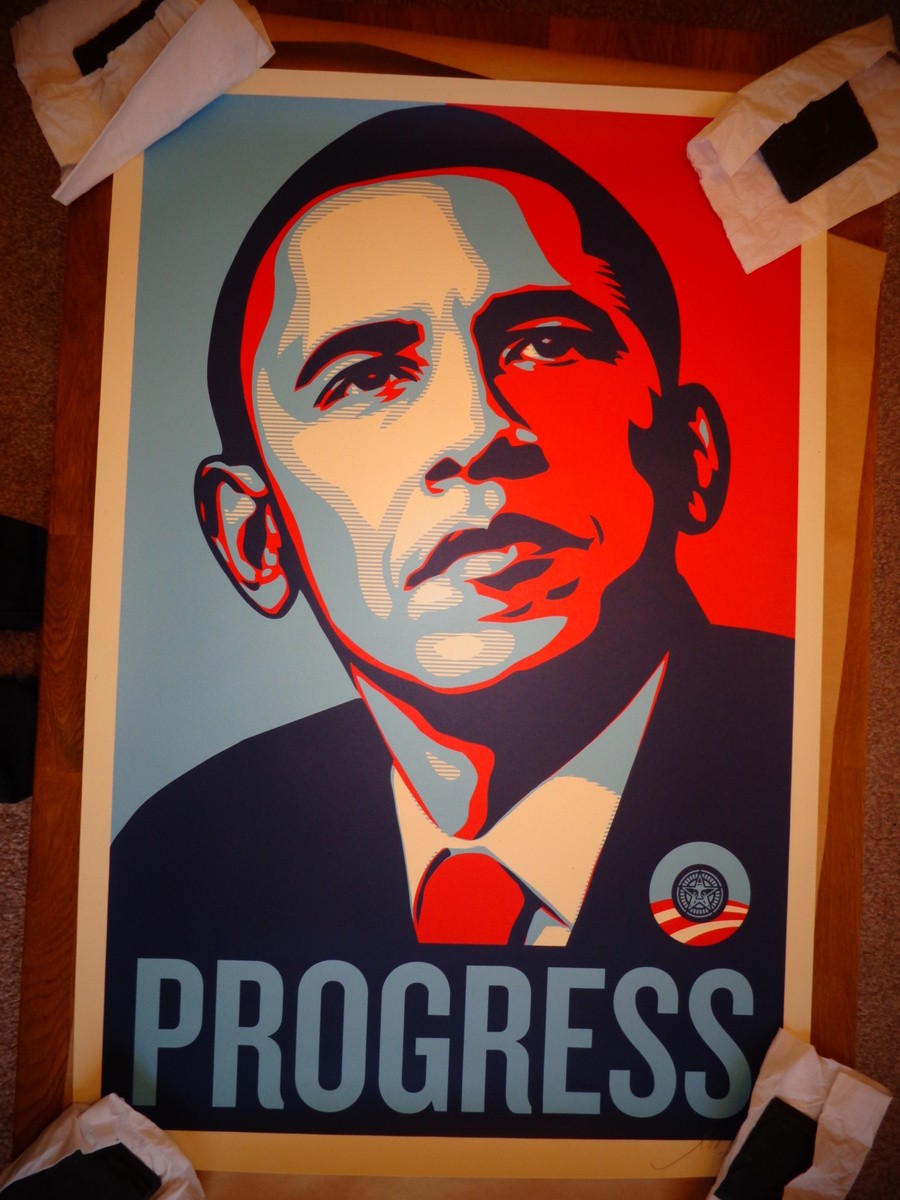
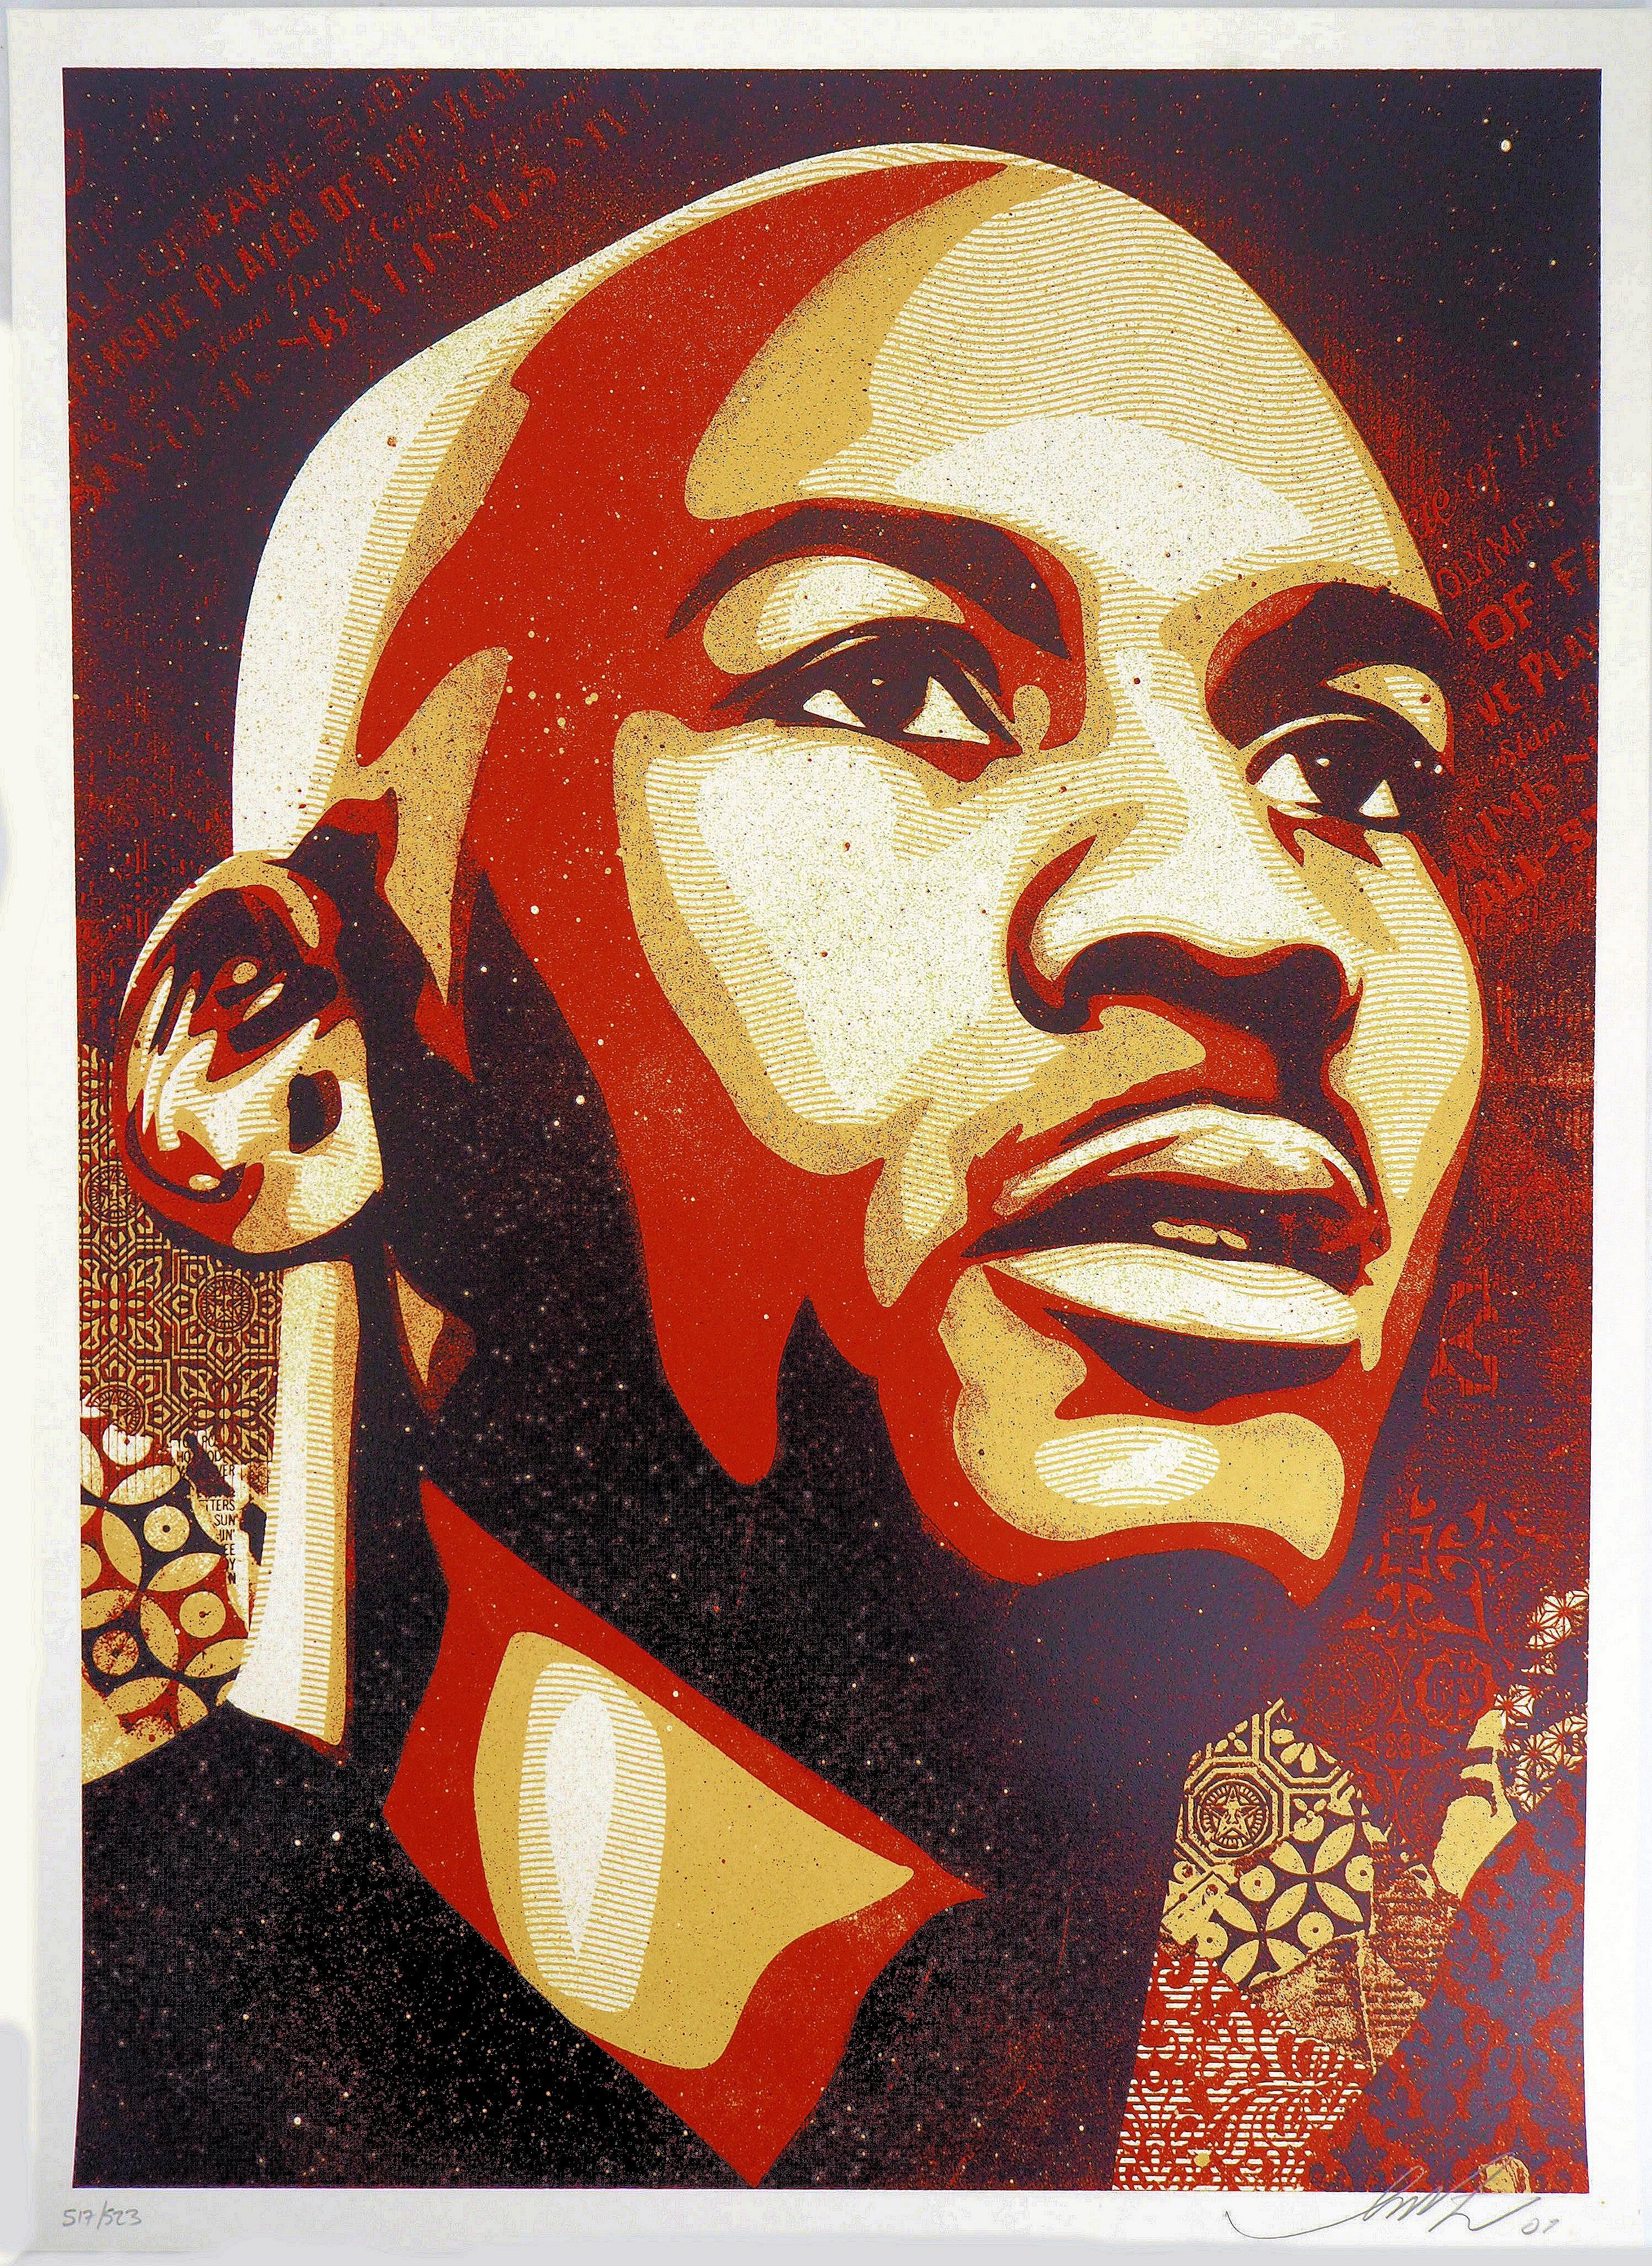
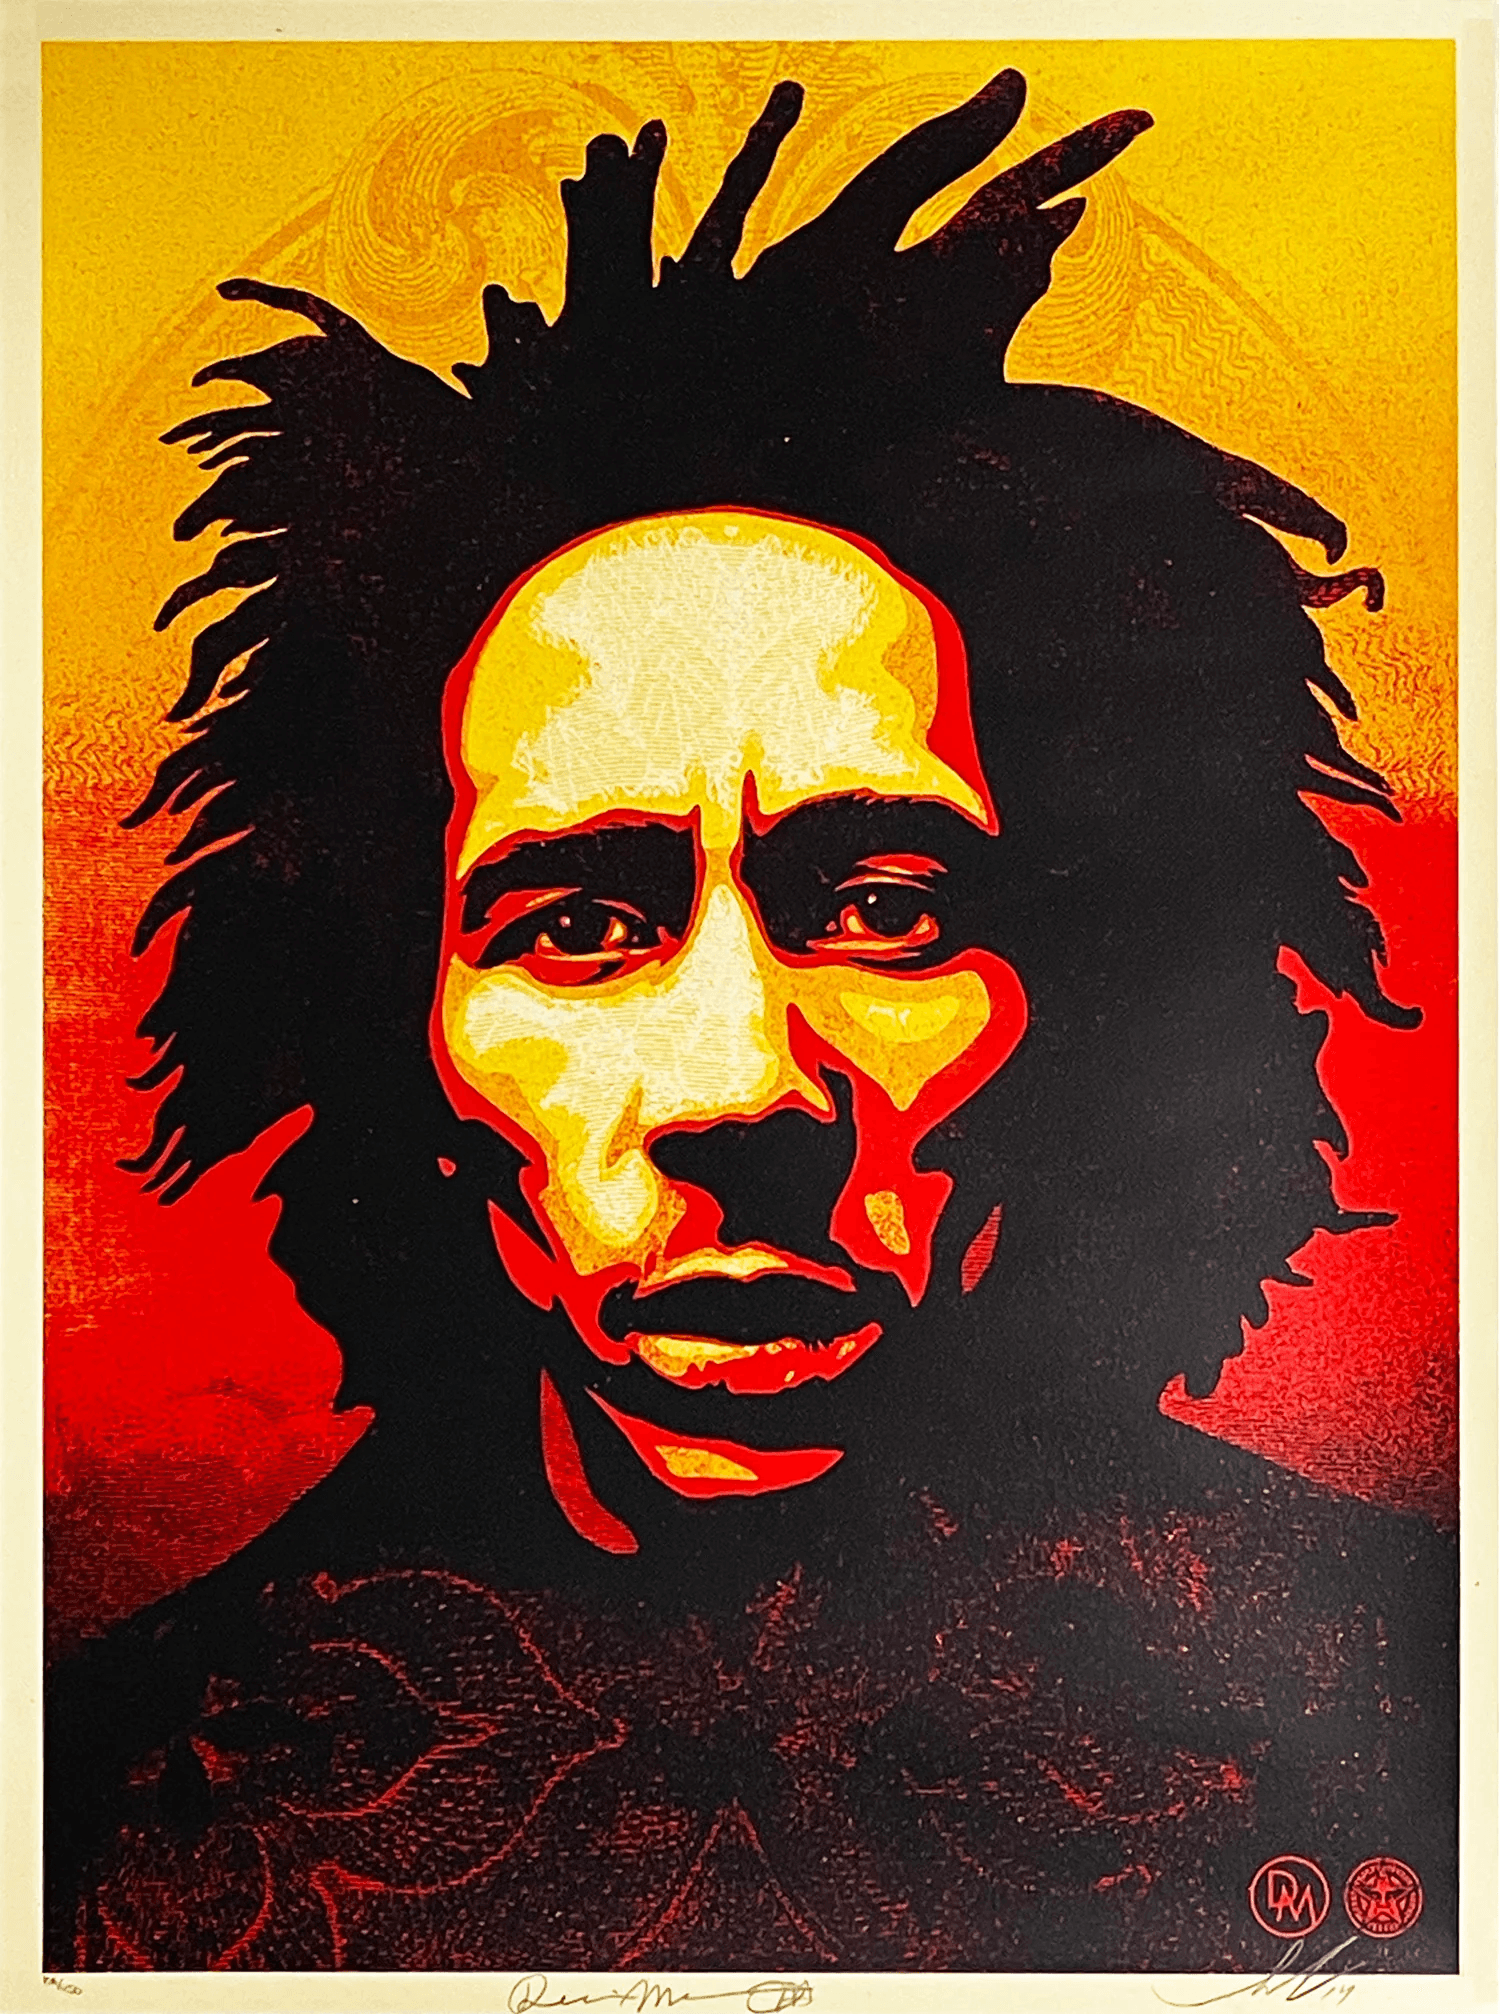
Featured Artist: Shepard Fairey
Profession: Contemporary artist, Founder of OBEY
Shepard is well known for his iconic screen printing designs and as the owner of the clothing brand OBEY. I have always admired his clean designs on screen printing and the different ways he creates depth in his work. He creates depth by firstly using multiple different screens in his work but also by texturing them using half tone and line techniques. These allow him to lighten or thicken the intensity of each screen on the page, adding another layer of depth to his designs. He usually sticks to 4 colours for the screen printing, sometimes incorporating other designs onto the background first, giving him something more interesting to screen onto.