Riso - Printing Workshop
Lead by Ryan
4 min read 10.10.23


Riso Printing is a special type of printing using specialised printers to create unique outcomes that would not be possible with a normal printer. The machines are complex using large ink drums to print onto paper, only one colour at a time. When the paper is run through the printer it spins the ink drum to print onto the paper, meaning you have to leave the fresh ink to dry first. For this reason the process can be a long winded one, but as shown in our induction it can create some really cool work which is super rewarding. To print multiple colours you must first print on the base colour you want, red for example, then let it dry before swapping out the ink drums (They are huge) for a different colour and then running a different design through with that colour or a different design all together. The drums themselves are kept in sealed cases to stop them from drying out, some of them look like they should belong in space with the size of the cases they are stored in. The printer itself is somewhat complex to navigate,
but the main takeaway for me was ‘if it's blue then you can move it’. Everything that is adjustable on the printer like the paper tray, case locks, drum locks and the drum casing locks are all coated in blue plastic so it's clear that you can use them to swap out drums or change the paper. The printer is compatible with both A3 & A4 paper up to 300g weights which will spit out the other side of the printer if you don’t lift up the guard, due to the speed created when rolling the paper through the drum. To actually insert the designs into the printer they must be scanned in via the scanner at the top of the printer so it can read the pattern that it is printing. The settings allow you to change the intensity of the ink press as well as the scale of the pattern on the page when you print.
Overall I think riso printing is a really clever technology that we can use to create interesting designs through print. I had no prior knowledge coming into this induction but I can say it is certainly something that I will look at using in my future work.

Ink usage
Riso printers use different inks to your standard printer a you can only use one colour at a time. This is where the riso style comes from as you have to print multiple times onto the same sheet if you want to create different colours or use more than 1. You can buy different colours of ink but the more complex colours come at a cost so its better to stick to the basic ones and experiment combining them for yourself instead of trying to sample perfect shades.
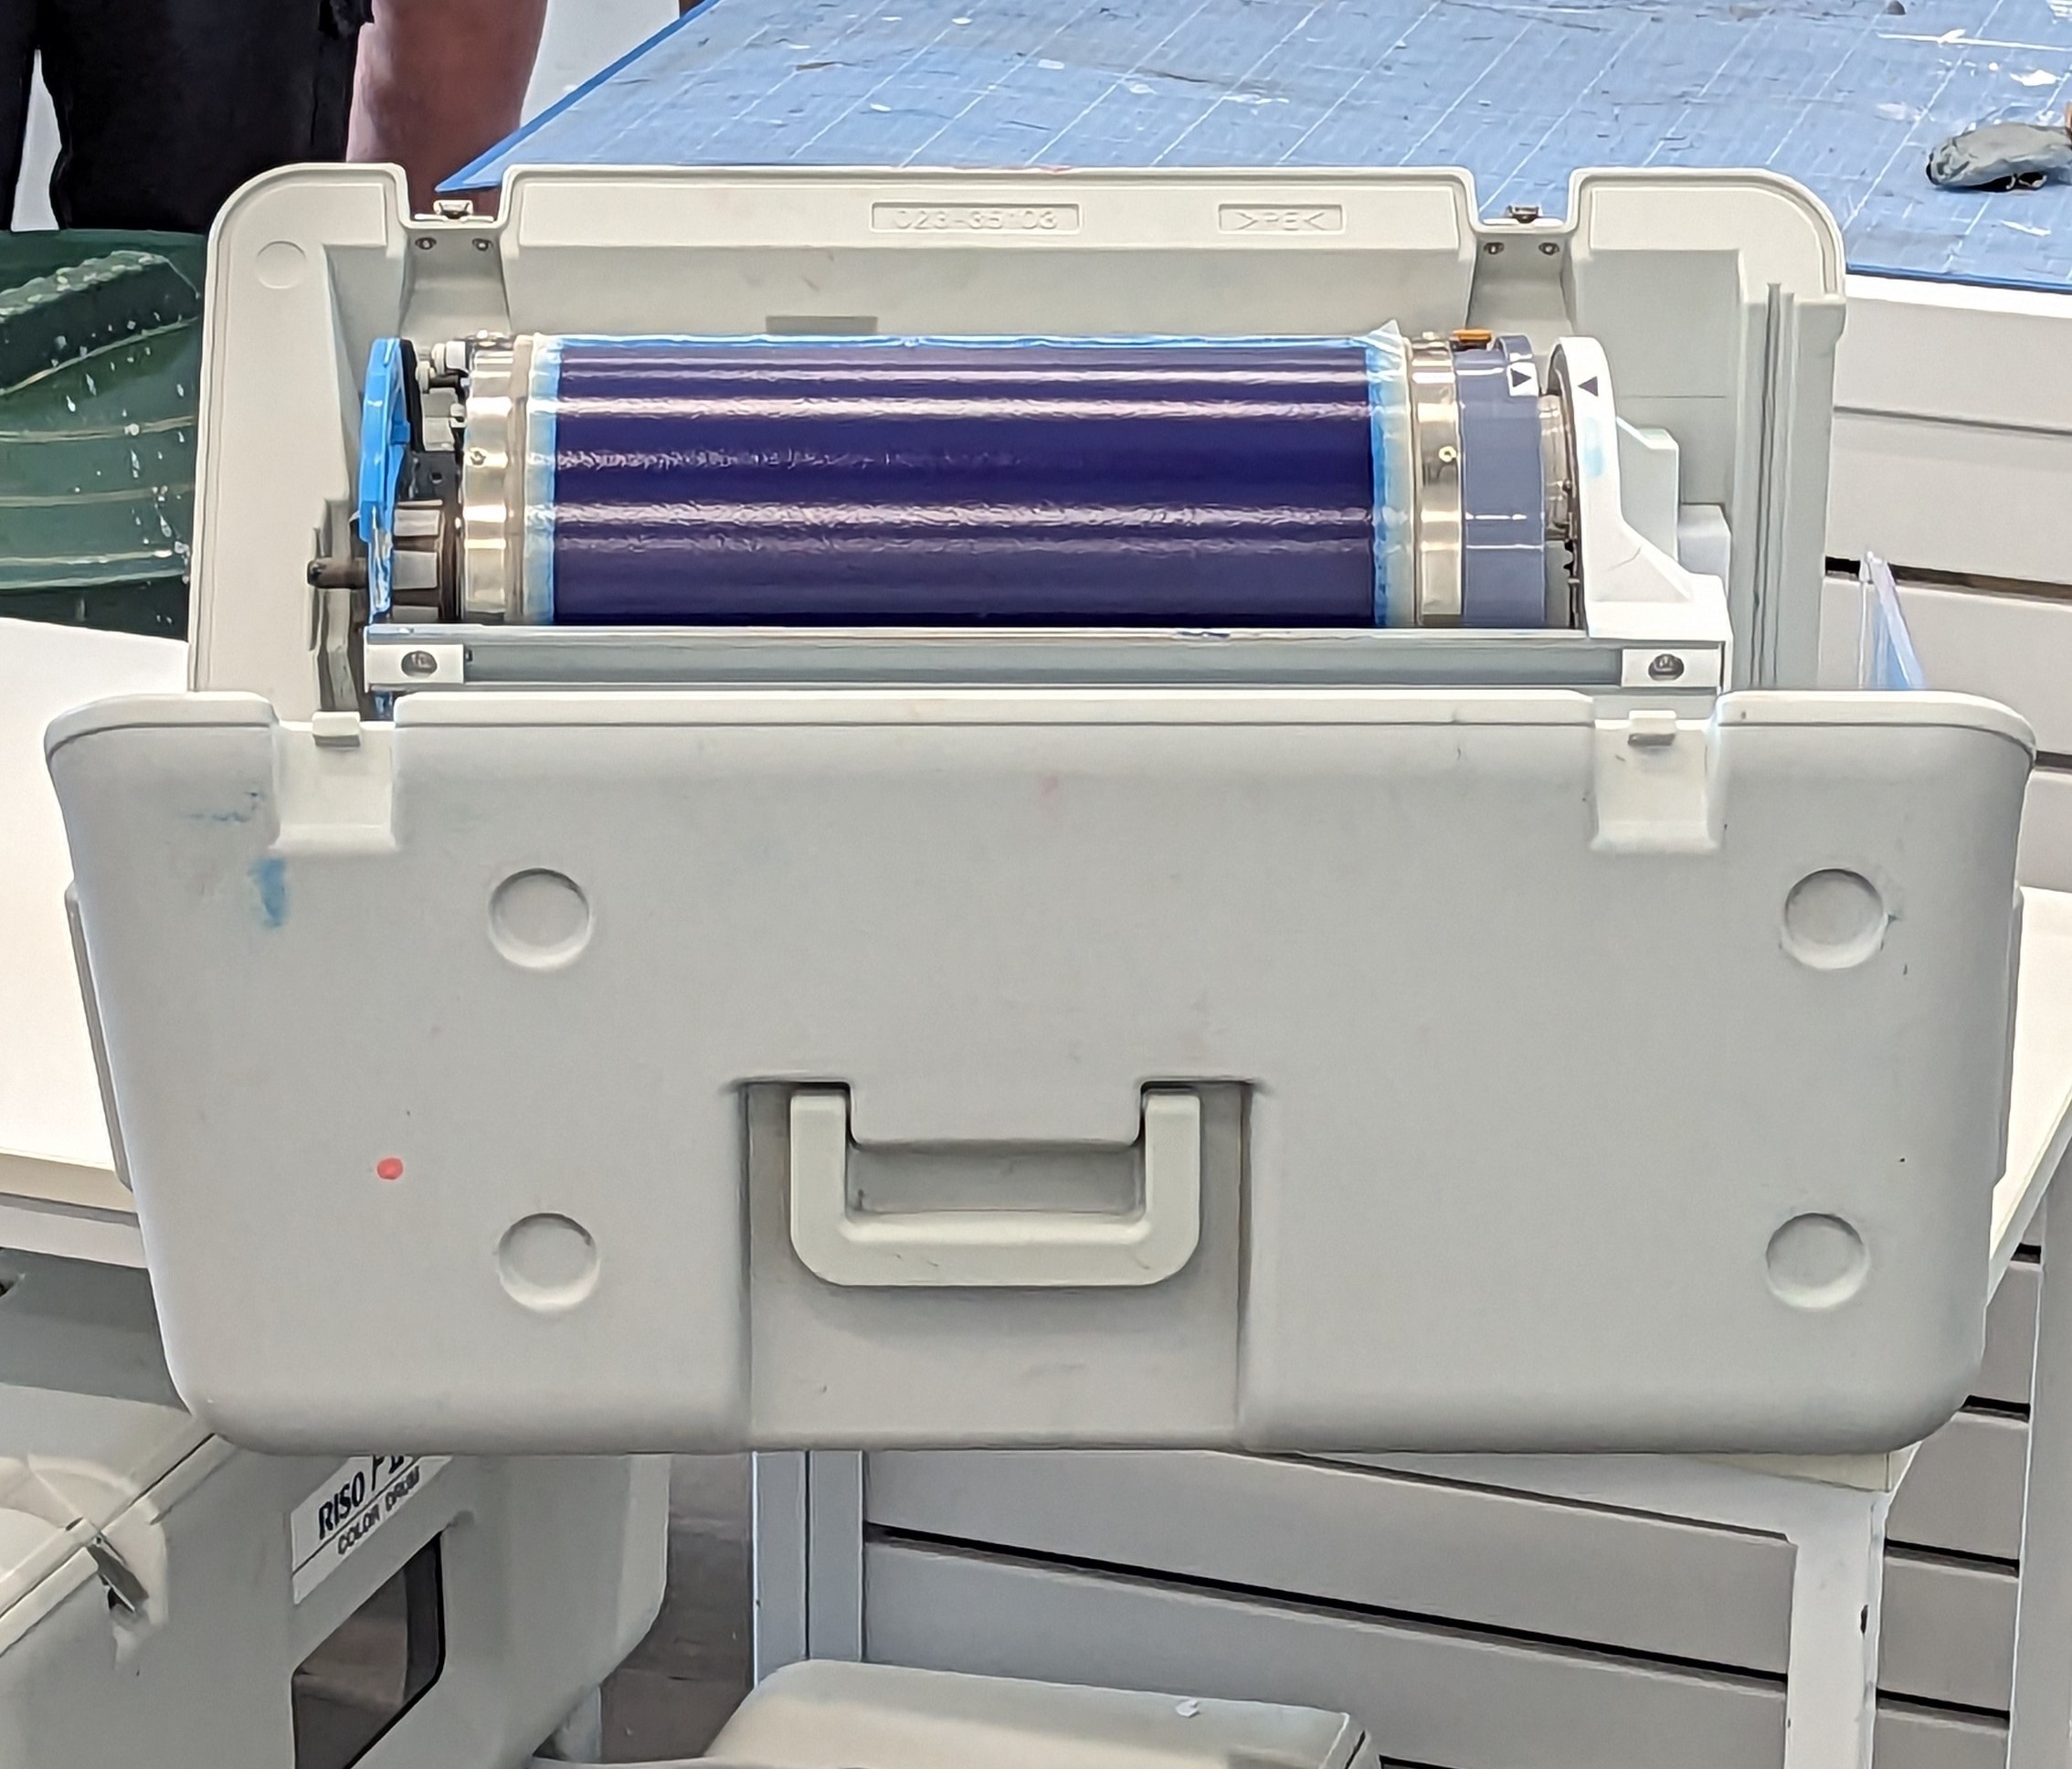
Ink storage
The inks are stored in huge air tight cases to stop them from drying out. The cases are highly transportable despite being really heavy and are a must for preserving the ink when it is not in use. The heavy weight comes from the thickness of the casing which keeps it sealed when closed, preserving the ink. Due to the printers needing to swap out inks regularly each ink has its own case with a code for its colour so you do not get them confused.

Combining colours
Combining colours is one of the many techniques used in riso printing. You cannot combine the inks manually as you can only use 1 at a time but you can print on one colour, let it dry, and then print another over the top to create a specific effect. You can put paper back through while still wet to really blend the colours together but you would ruin the ink drum during the process which is an expensive replacement. You can also offset the designs using the printer settings to print in a new colour but using different positioning.

Swapping out inks
The printer is covered in blue plastic tabs, these are indicating that you can use them to release or lock things in place, like the ink drums. The printer door slides open and you can use the blue clip to release and remove the drum, placing it back into its case before it dries out. You can then take your replacement ink drum and lock it into the ink slot. The printer can detect if the drum is positioned correctly so you don't need to worry about getting it wrong, the printer will tell you if you have.

Featured Artist: Omar Garcia
Profession: Logo/Brand Identity designer
Omar is a designer I came across on X. He is a freelance designer and school teacher, teaching people about logo design and brand identity design. He has a riso printer in his home which he uses from time to time for his work. I love the recent piece he did with his own branding, laying his logo over the top of all the different marks he has created in his career. I love the vibrance of the colours he used and the contrast that makes between the foreground and background. You can see from the images that he did not dry the first print completely before printing his logo onto the paper leaving an overlay of combined colour in the intersecting areas, which I think adds some nice depth and extra details to his design work.