Laser cutting & 3D Workshop
Lead by Simon
4 min read 03.10.23
This induction involved a full rundown of the university's manufacturing departments. We got a look into what machines are used to create products, how to set them up and some of the possible products/pieces we can make with them.
We started off in the woodwork room understanding how to set up the main lazer cutter and what we could utilise it for, as well as other essentials like pricing and material types. Certain materials like plastics, laminates, vinyl and glass are banned from use due to the toxic gases they release. We started off by addressing the setup for cutting; cutting files are sent to SAH.laser@hud.ac.uk unless bigger than 10MB. Once the files are sent they are quickly audited to make sure no changes need to be made to the setup and the file type is compatible with the cutting software; CDR, PDF EPS.
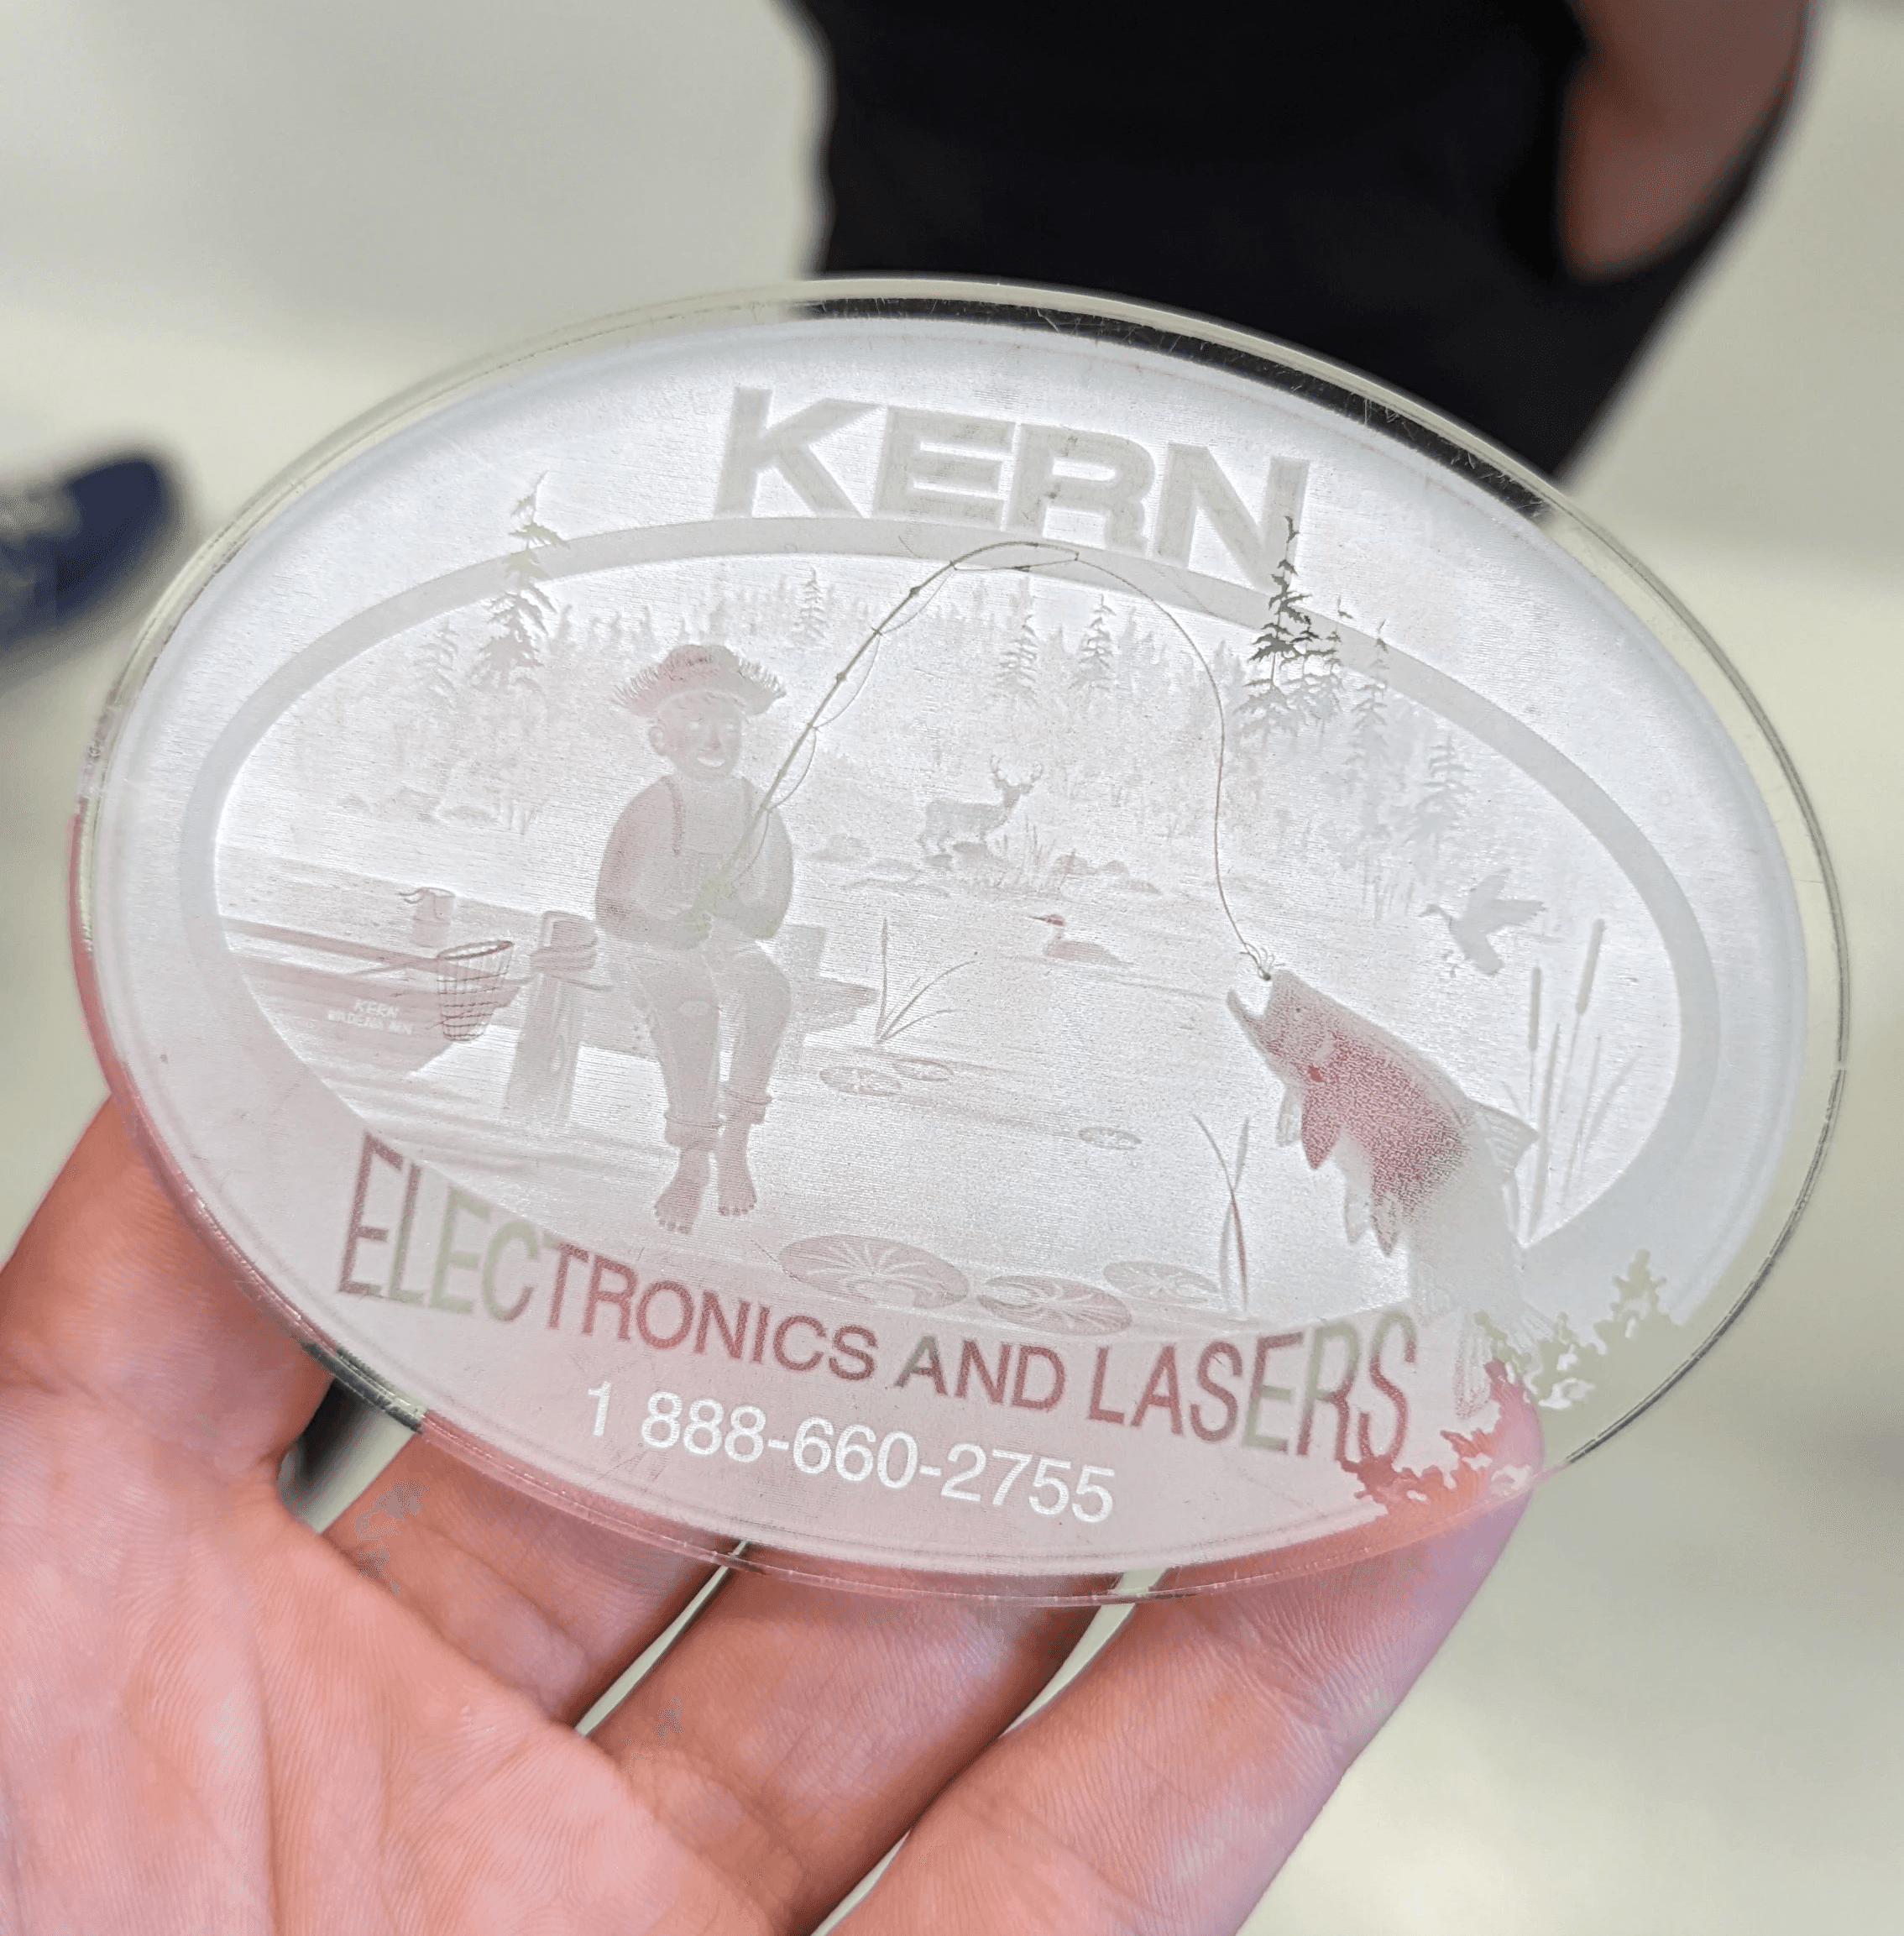
The cutter uses colour recognition to read each file to know which action to take, black for cutting and red for etching letters or design which I thought was really clever. The cutting shop offers a range of materials at various prices depending how much you want and the thickness of what you want to use, most students sample designs onto multiple different materials as atest before buying in their favoured option to fully develop their work.
After the wood tech induction we had a quick look at the 3D printers the university has to offer. The printers are industry standard and great for printing figures and structures to a reasonable size. Some of the models on display had high levels of detail for such small designs which was impressive, showing the accuracy of the printer itself. The university are open to students sourcing their own filaments to use in the printer giving a wide range of possibilities should you wish to invest in your own equipment. Unfortunately the only downside to the 3D Print room is the lack of printers due to pricing and the time taken to print. 3D printing is still an evolving technology so print times can take up to 2 days depending on model size and level of detail.
Overall I enjoyed both of these inductions, 3D printing is definitely an interest of mine so I may take advantage of the facilities in the future for my work or even to experiment with my own personal projects.
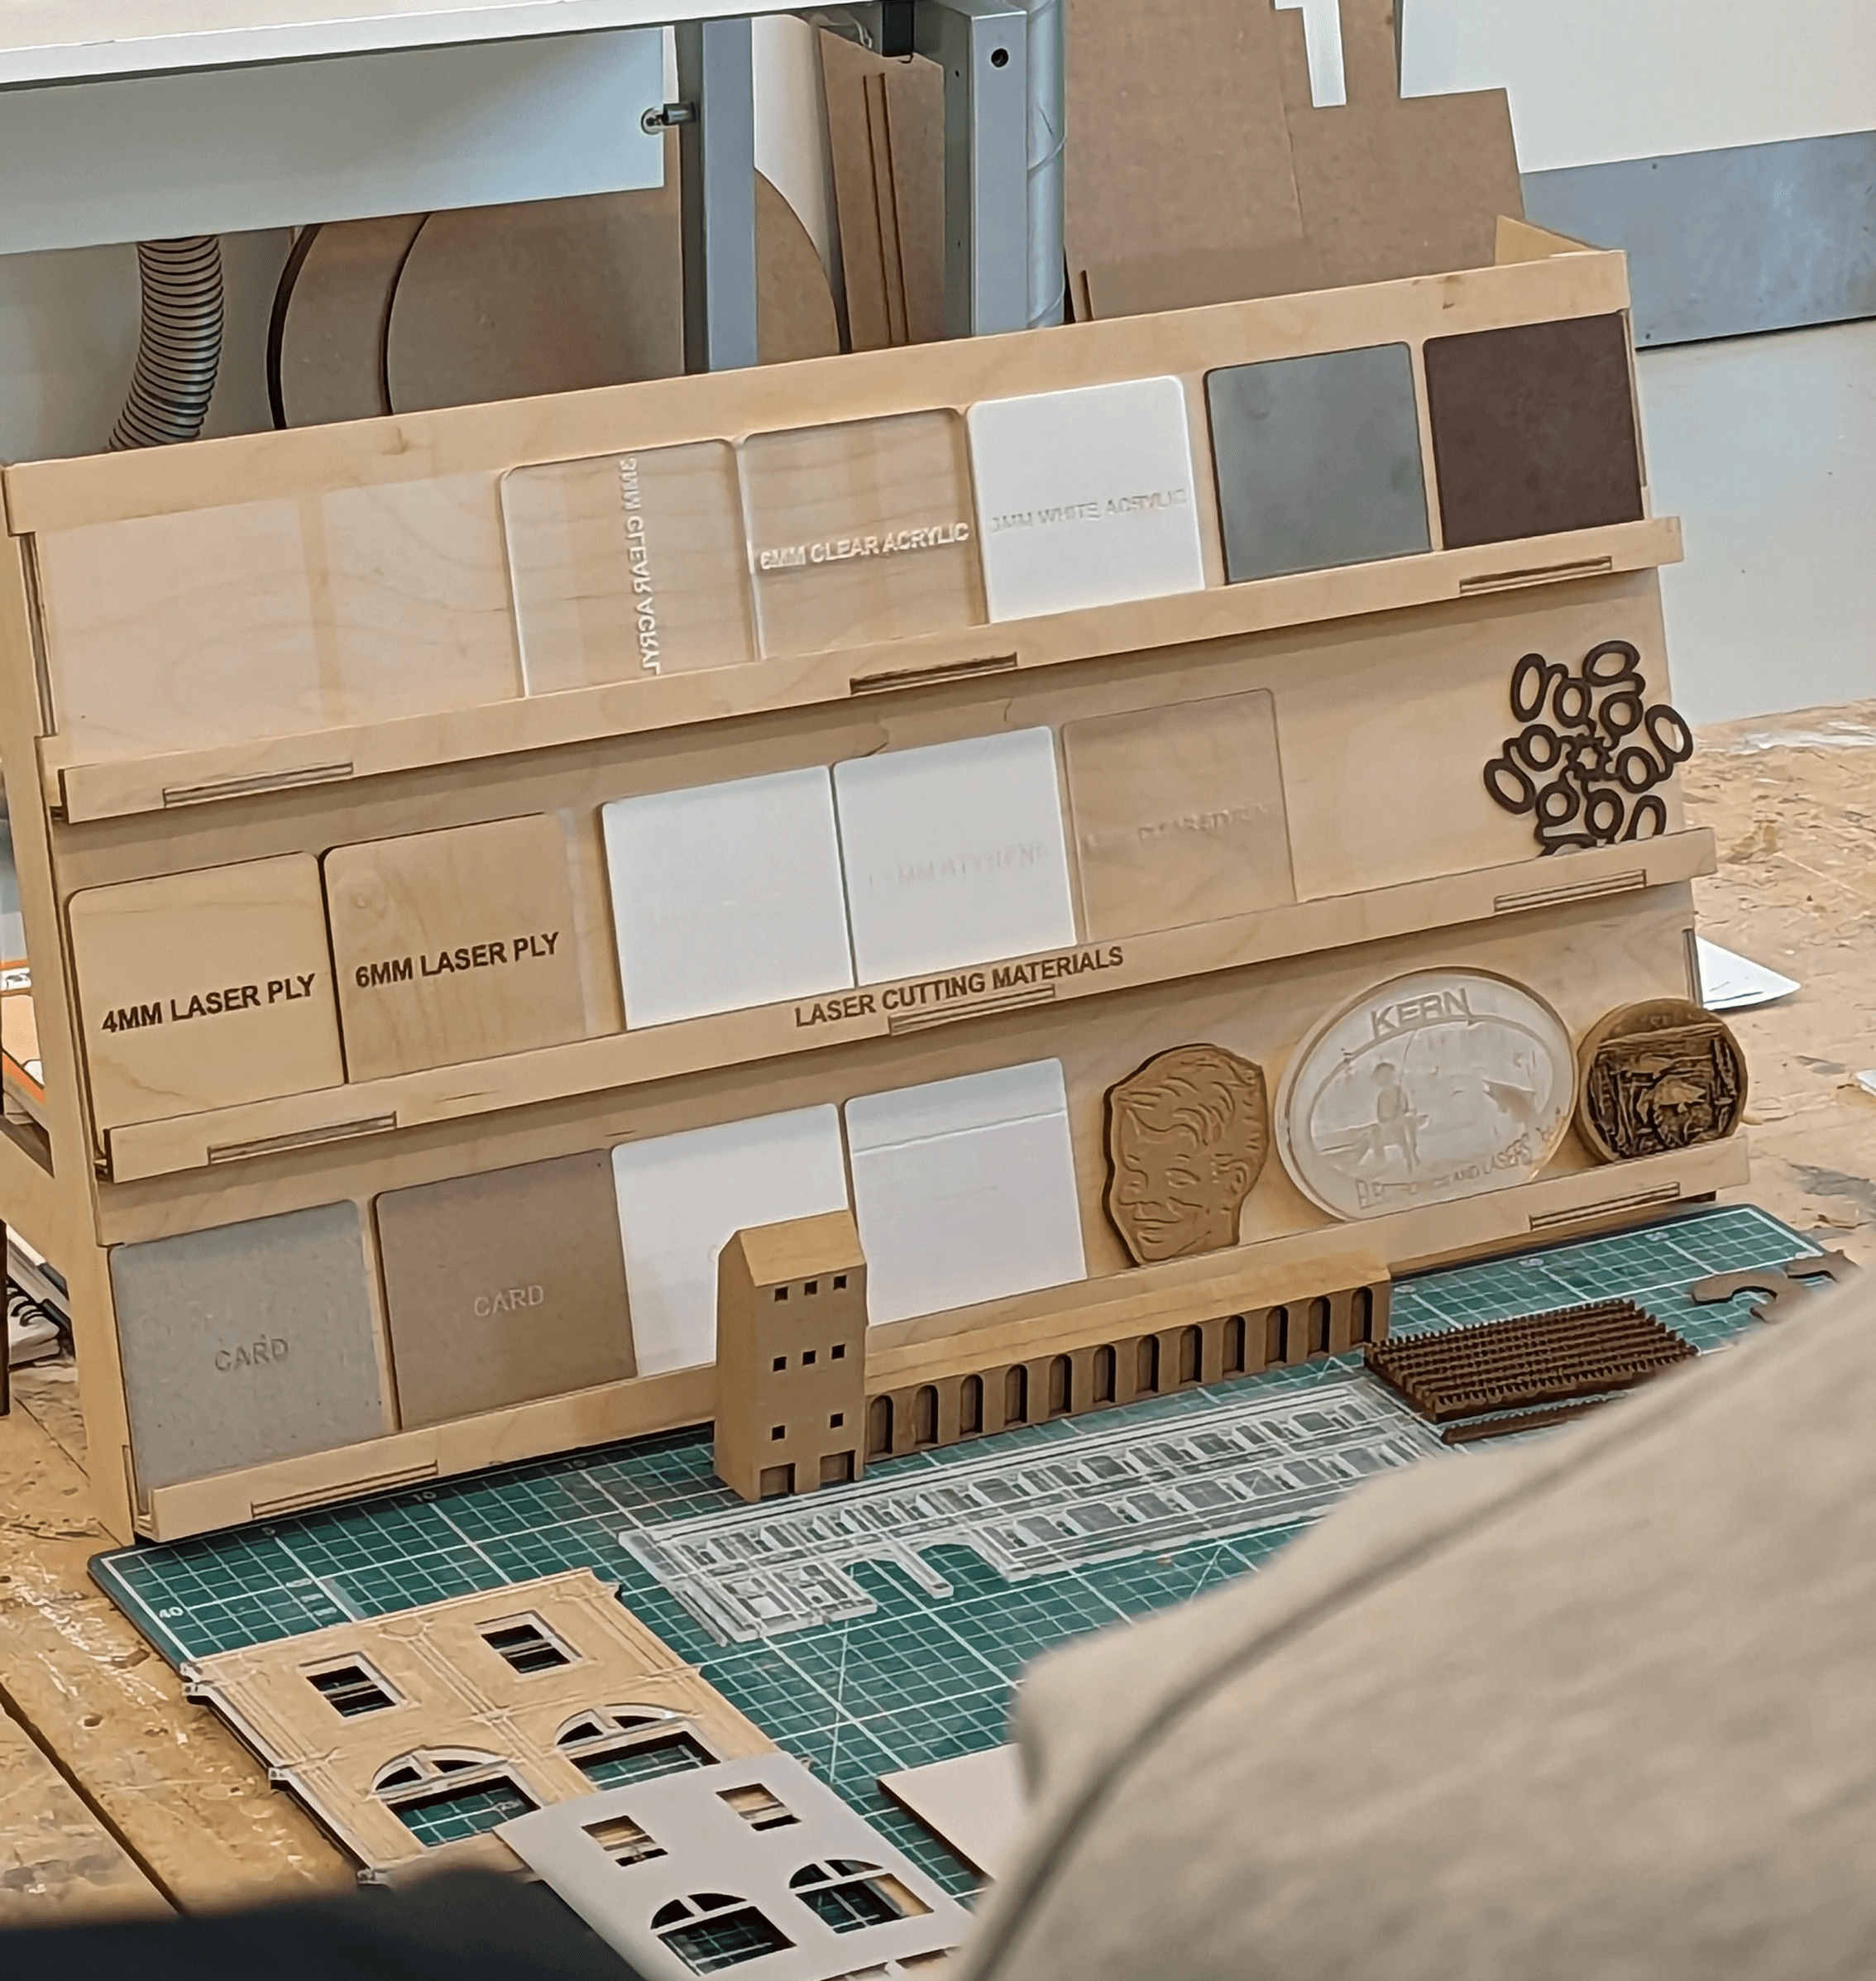
Material types
Laser cutters are compatible with a range of different materials, primarily wood but also materials like card, acrylic and some leather materials. It is important to set up the files correctly depending on the thickness of the material because the laser could cut through it unintentionally if you set it too a depth thicker than the materials itself. Simon recommended we gather samples to test before paying for the material we wanted in bulk.
Etching and engraving
The cutter can be set to cut to different thicknesses on materials. This gives you the opportunity to create depth in your designs by cutting deeper outlines in certain areas. With acrylic like materials it is good for manipulating the opacity of the materials the create translucent or more opaque outlines in the materials. With wooden materials this effect can be achieved but in the form of creating darker shades of wood through a deeper cut, as the heat created from the laser burns into the wood coating it in a darker shade to create that same depth effect.
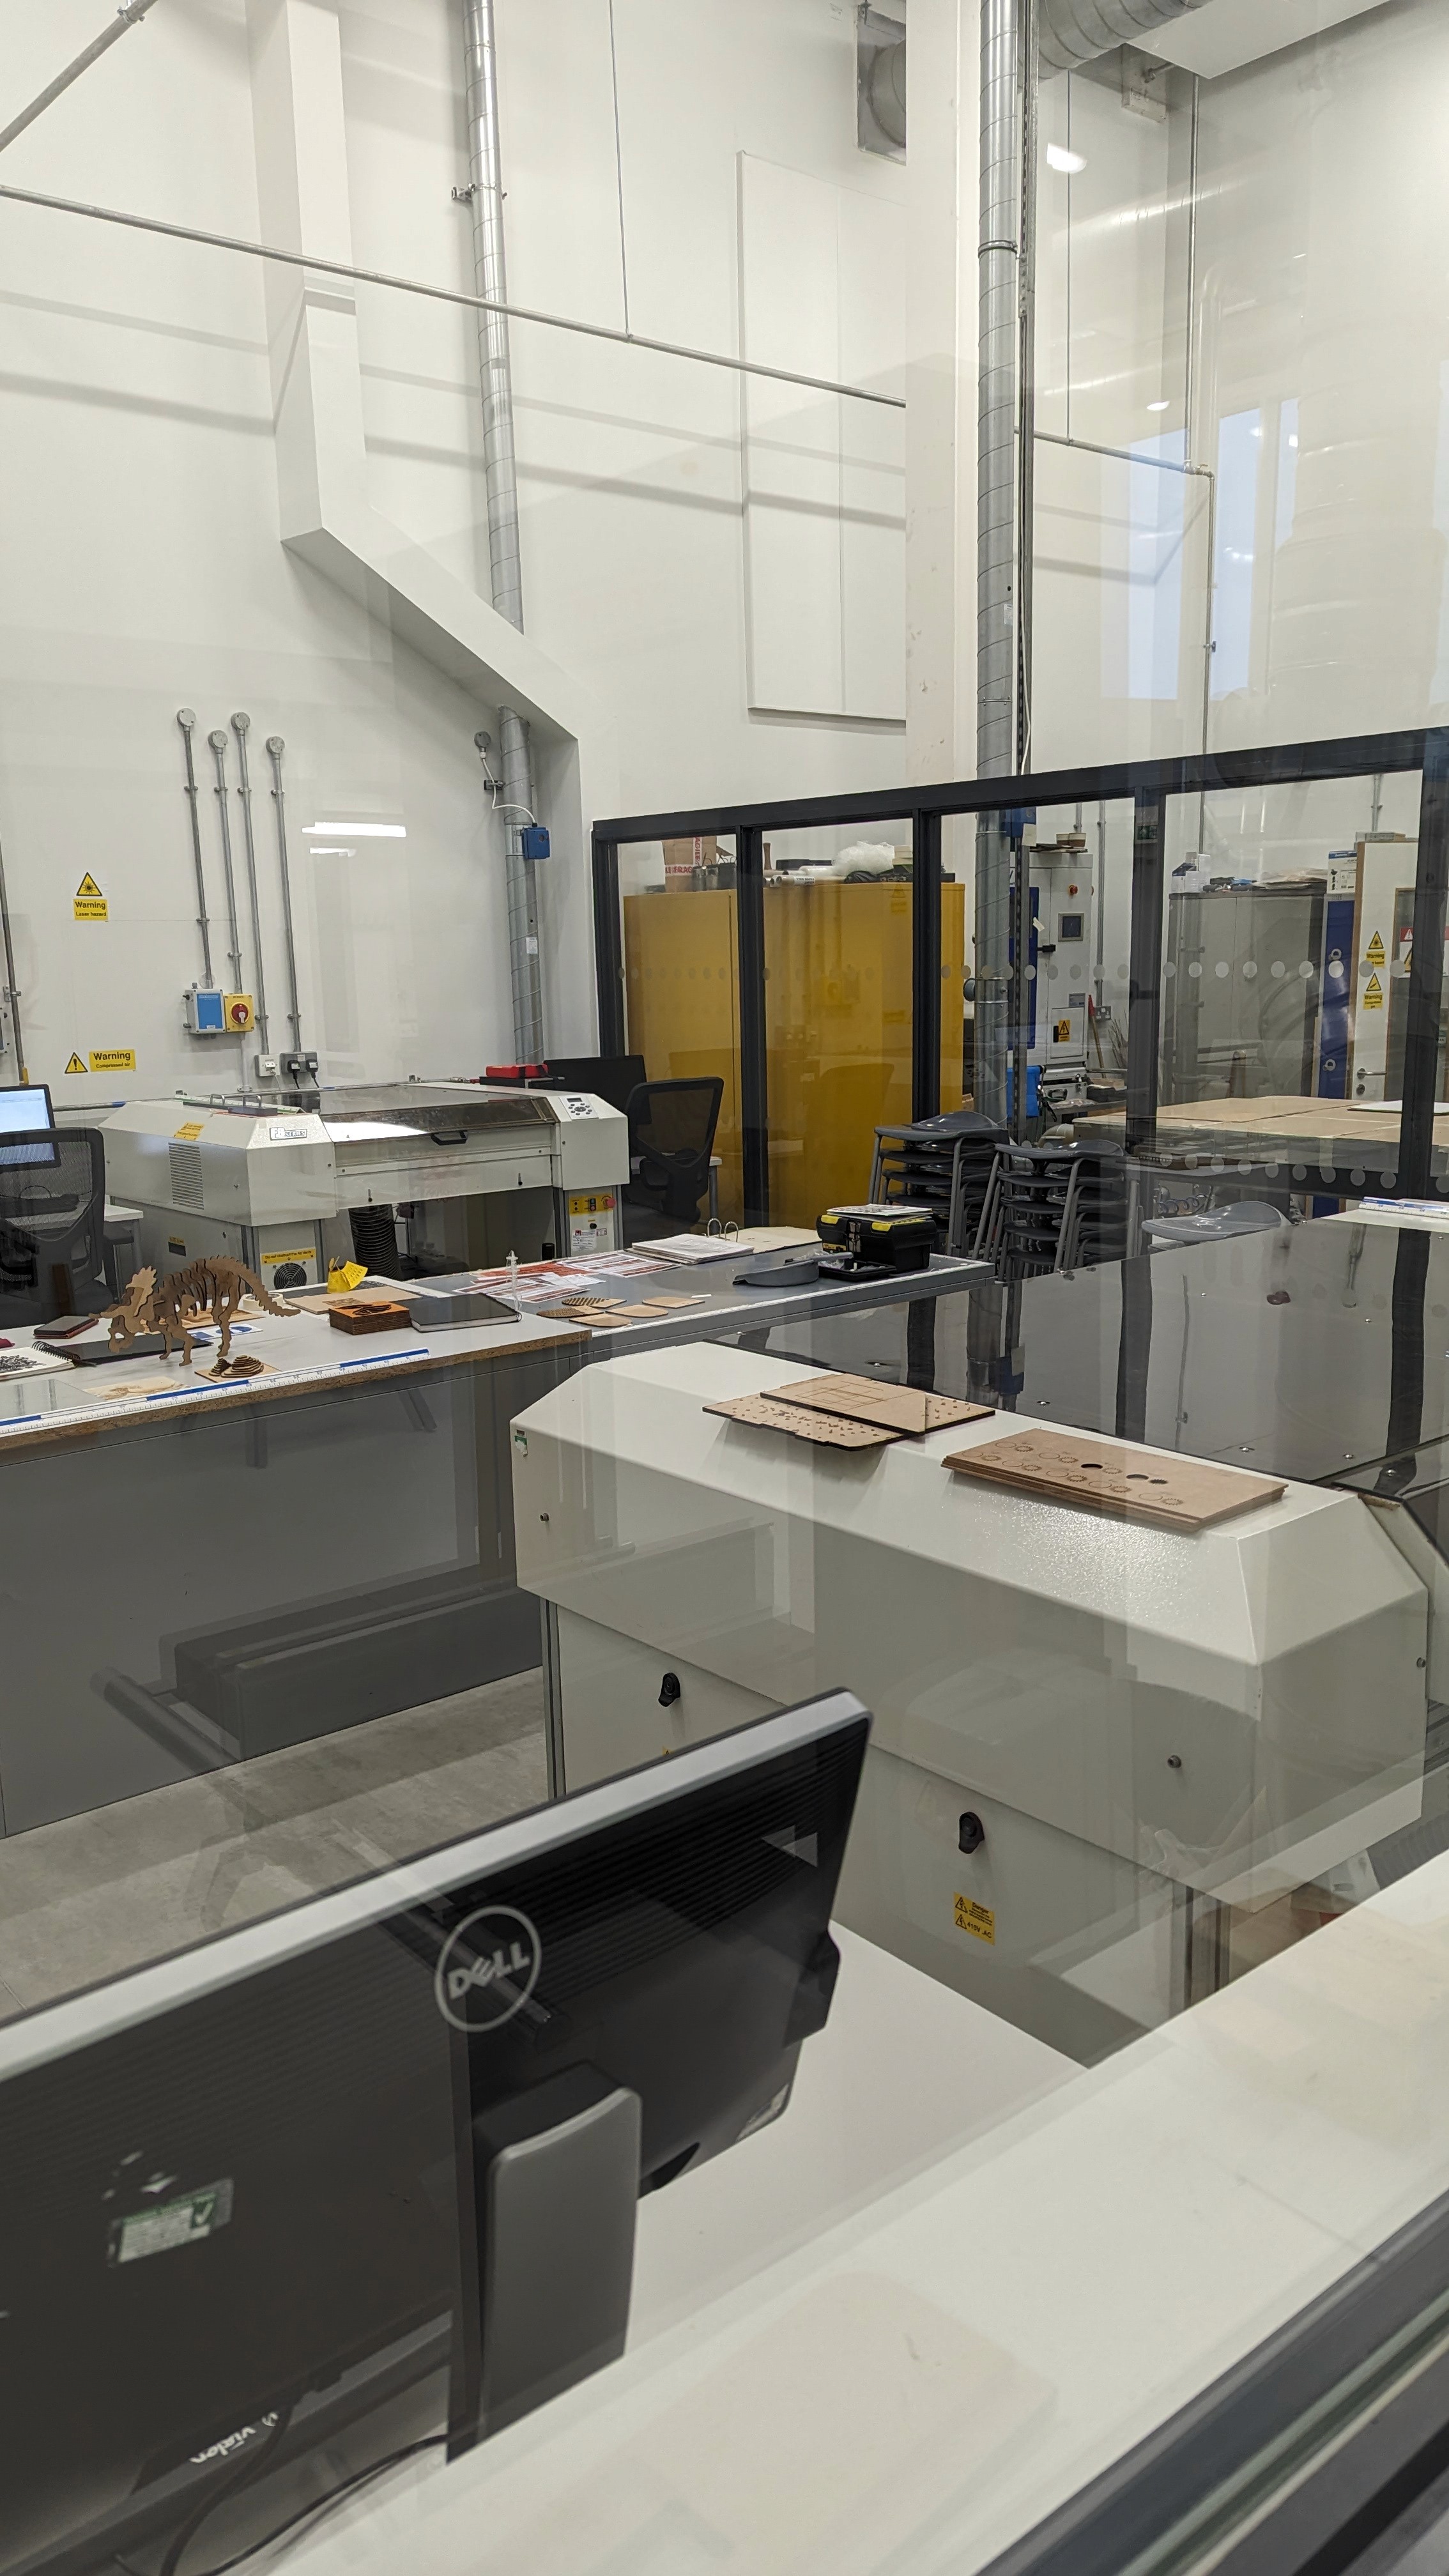
Laser cutting machine
The laser cutting machine is kept in a separate room and must be empty when cutting as cutting some materials gives off toxic gases as well as the machine itself giving off radiation. The doors must be sealed while cutting takes place and the guards on the machine must be closed to avoid any excess debris from escaping the machine. The cutter is attached to a vacuum which disposes of the majority of gases and dust created from cutting but it is still important to be cautious when removing designs and opening the cutter. In addition the laser creates a lot of heat when cutting so designs must be left to cool before being removed from the cutter.
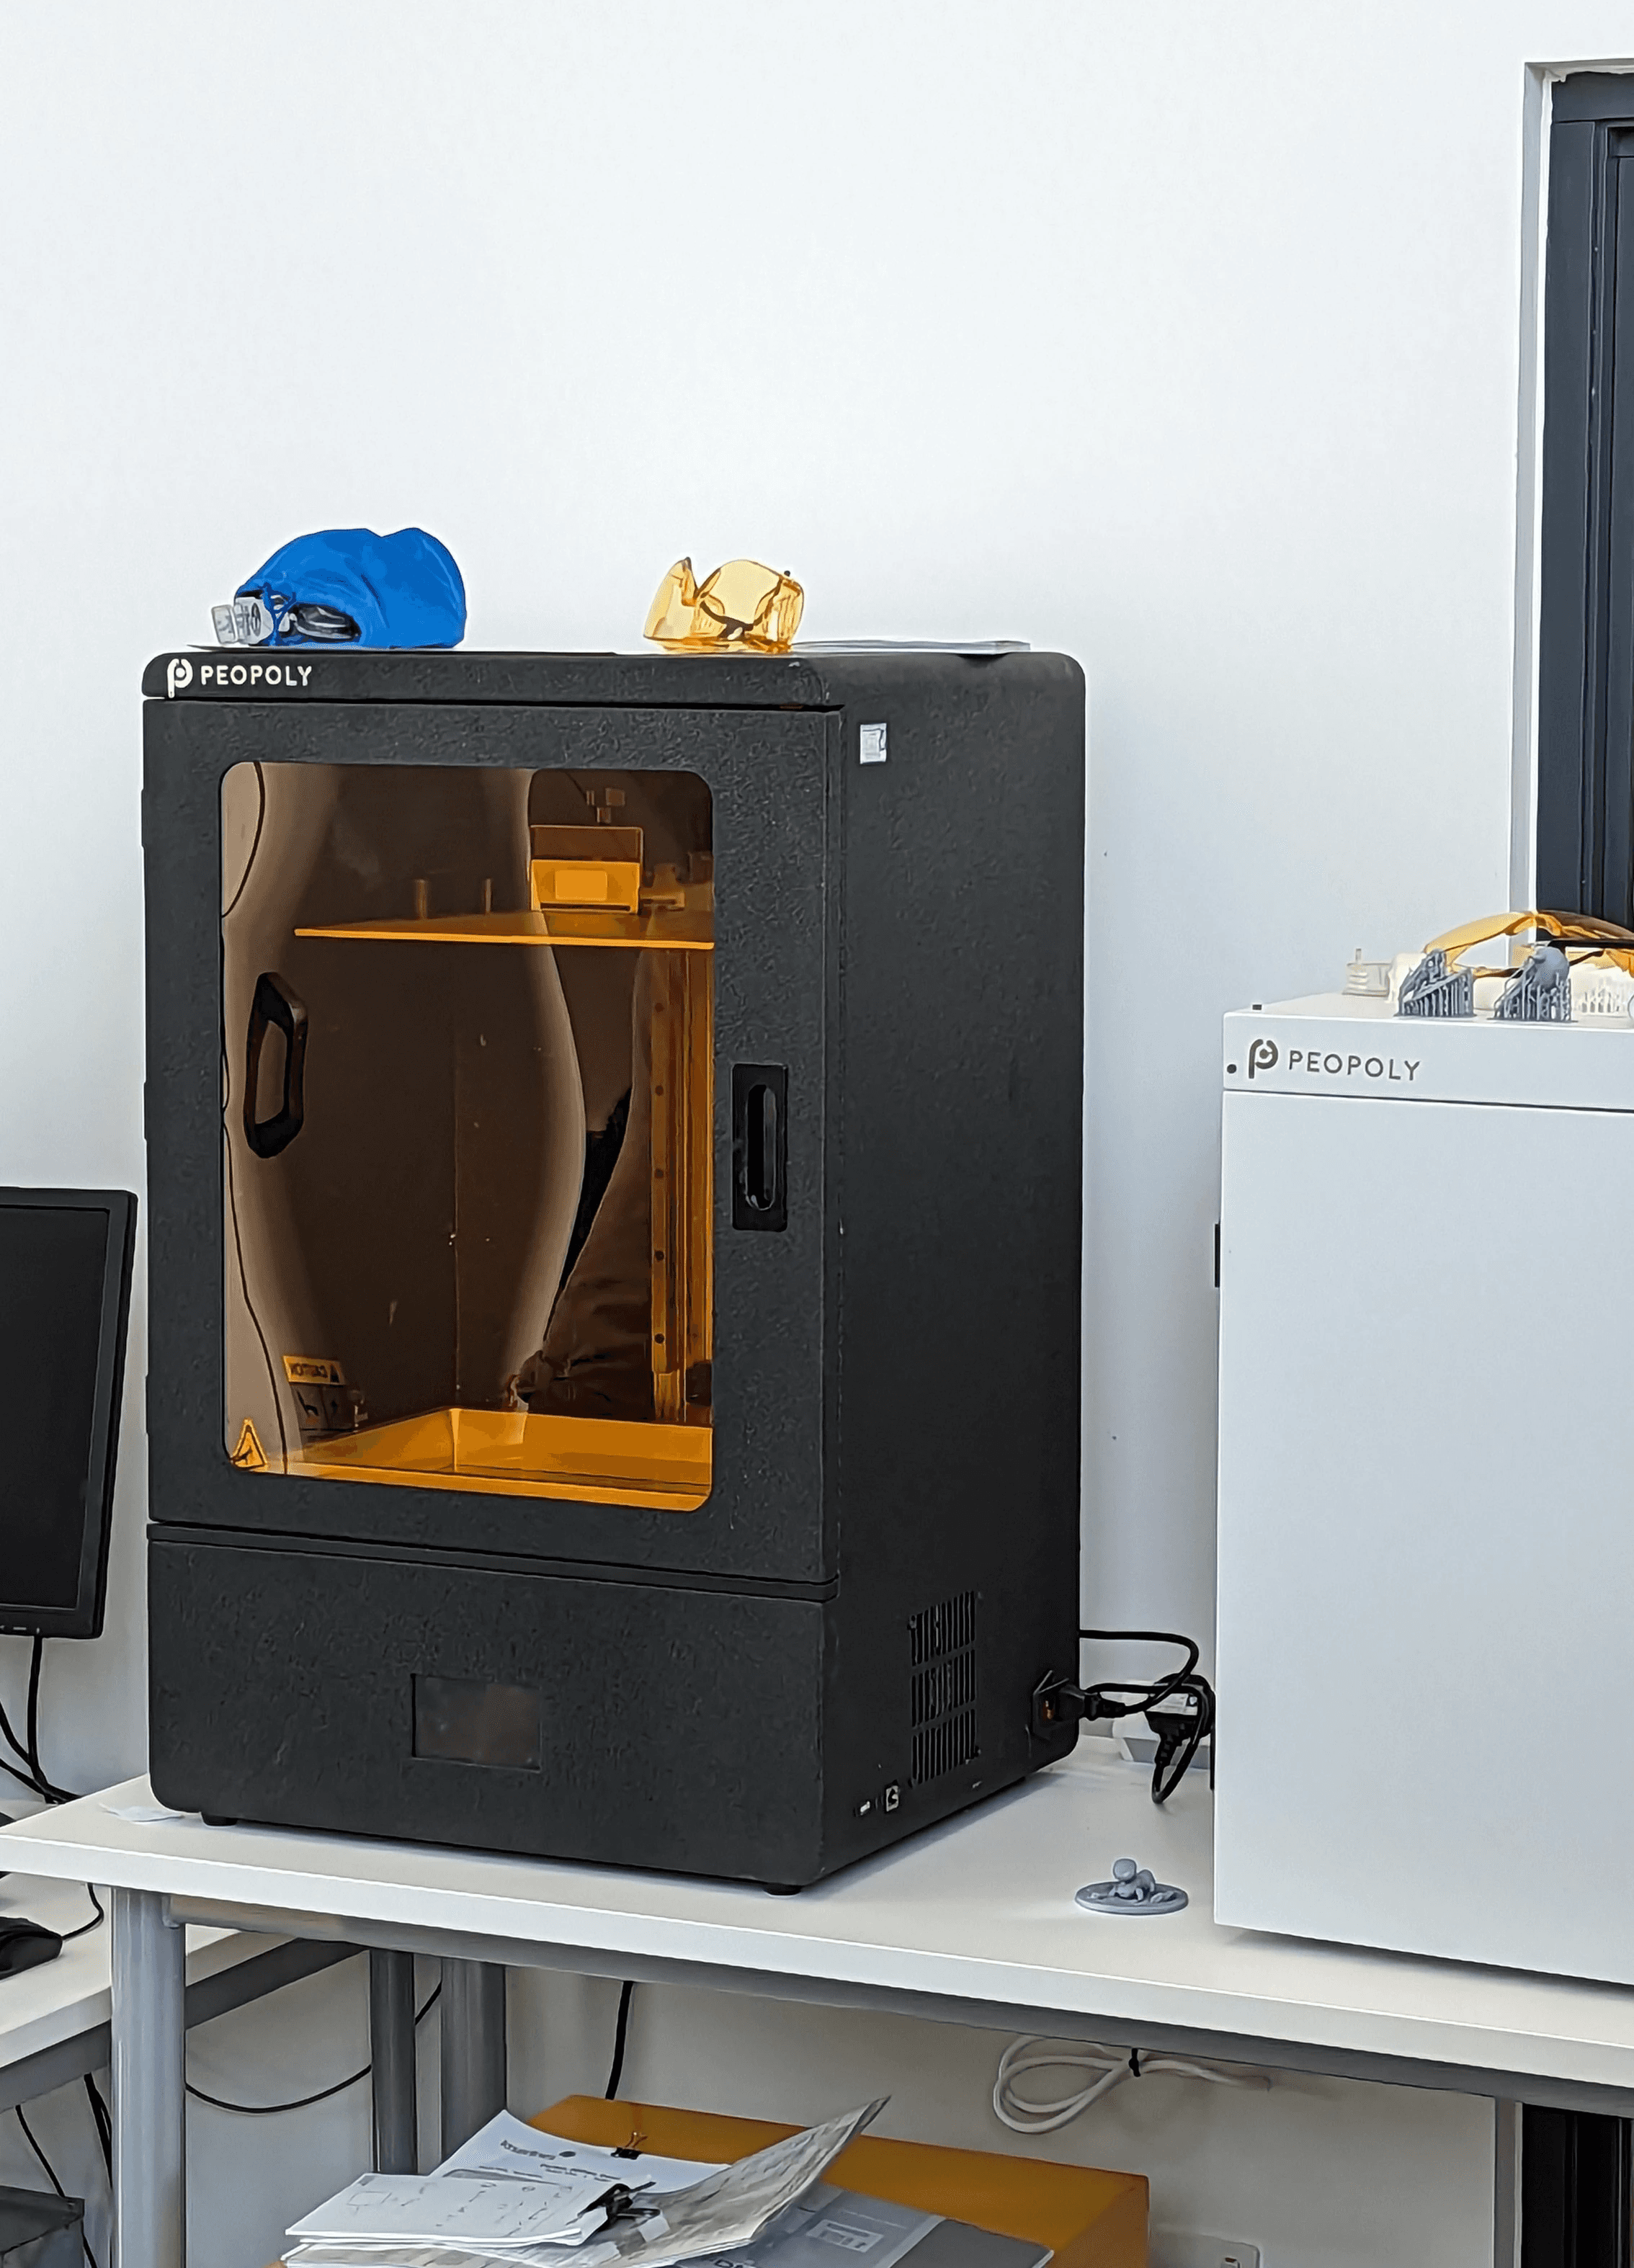
3D Printers
The 3D printers are create for bringing models into real life. From characters to building structures they can create real world versions of designs, allowing you to present physical outcomes for your work. The printers use a range of filaments and you can bring in your own if you want to print using specific materials, colours and finishes. The print time is around 48 hours for the models as the printer needs to be prepped and scheduled to print work which takes long periods of time as this is emerging tech.

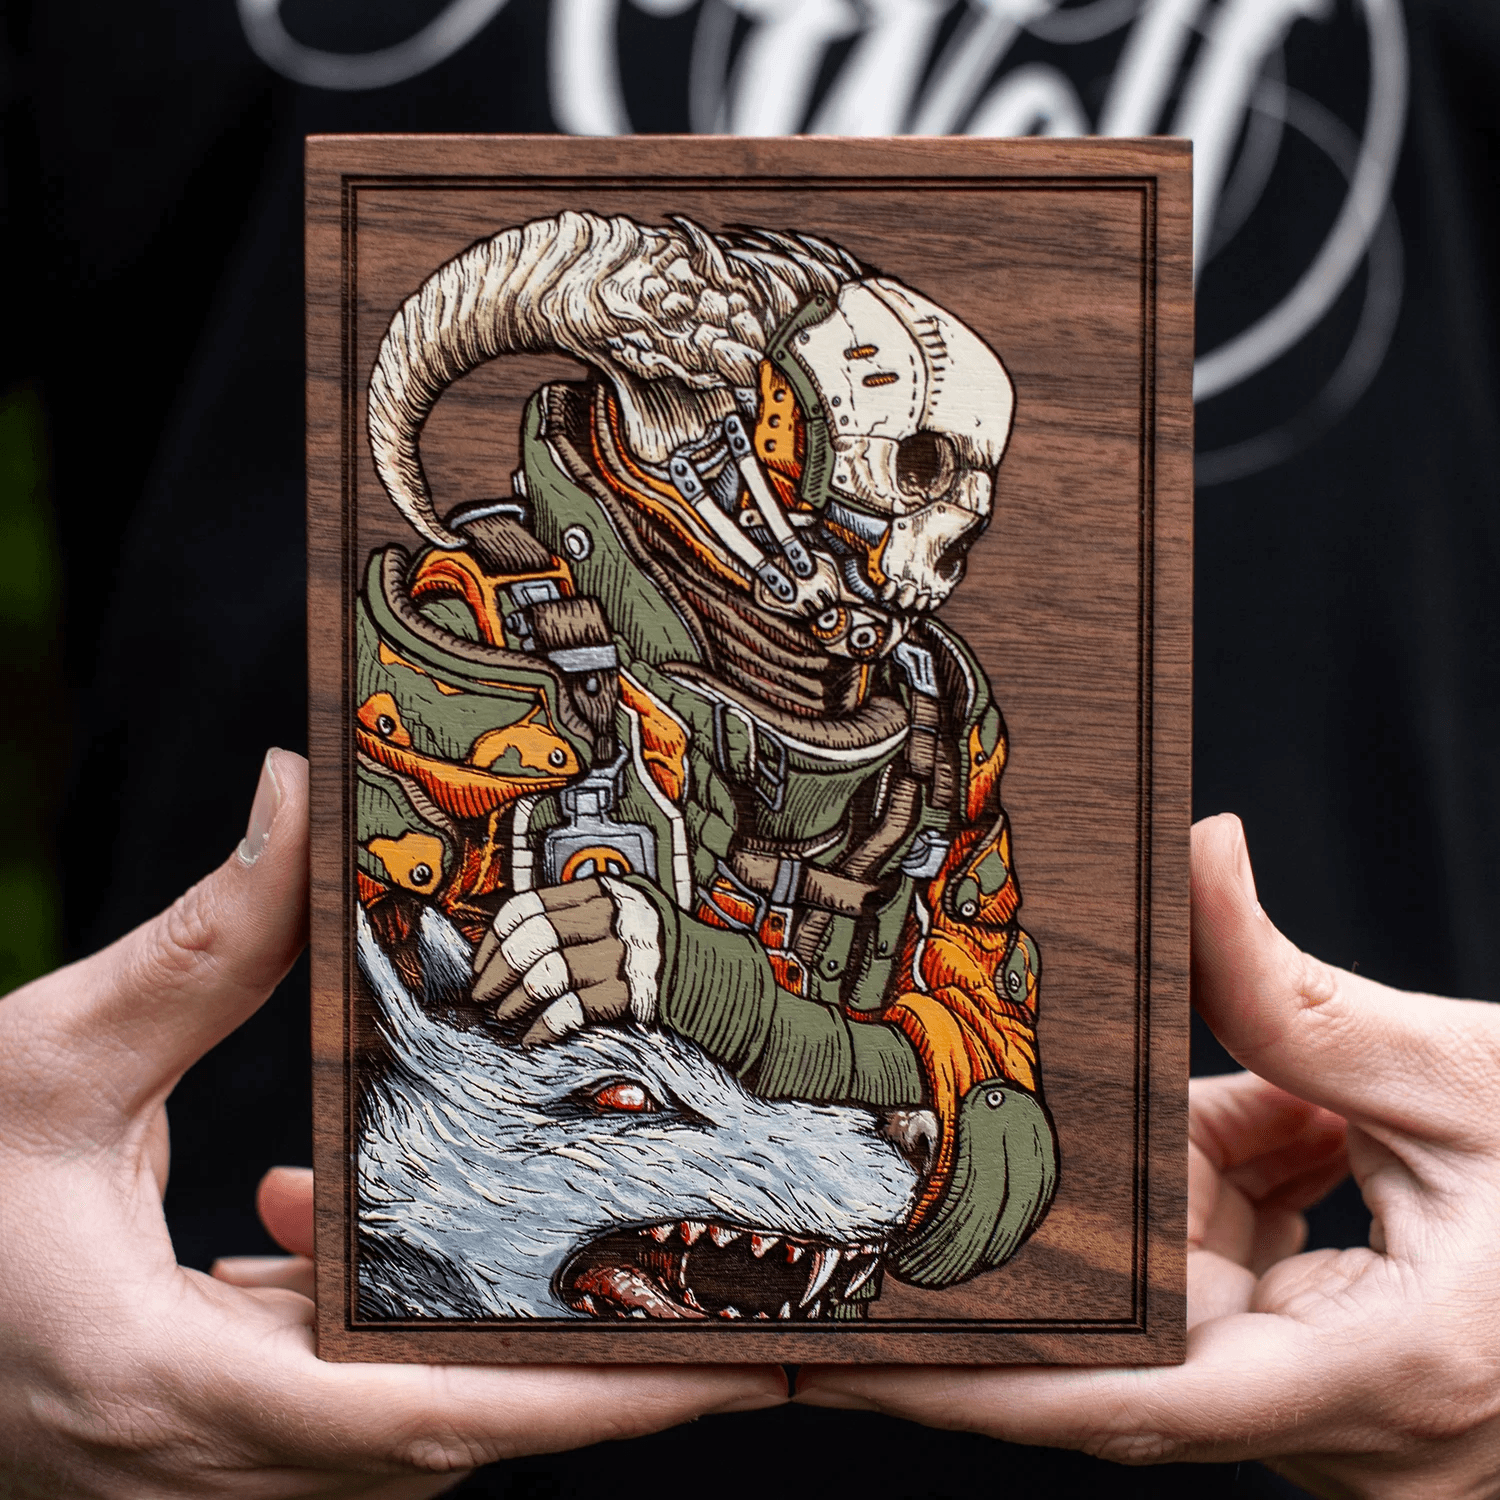
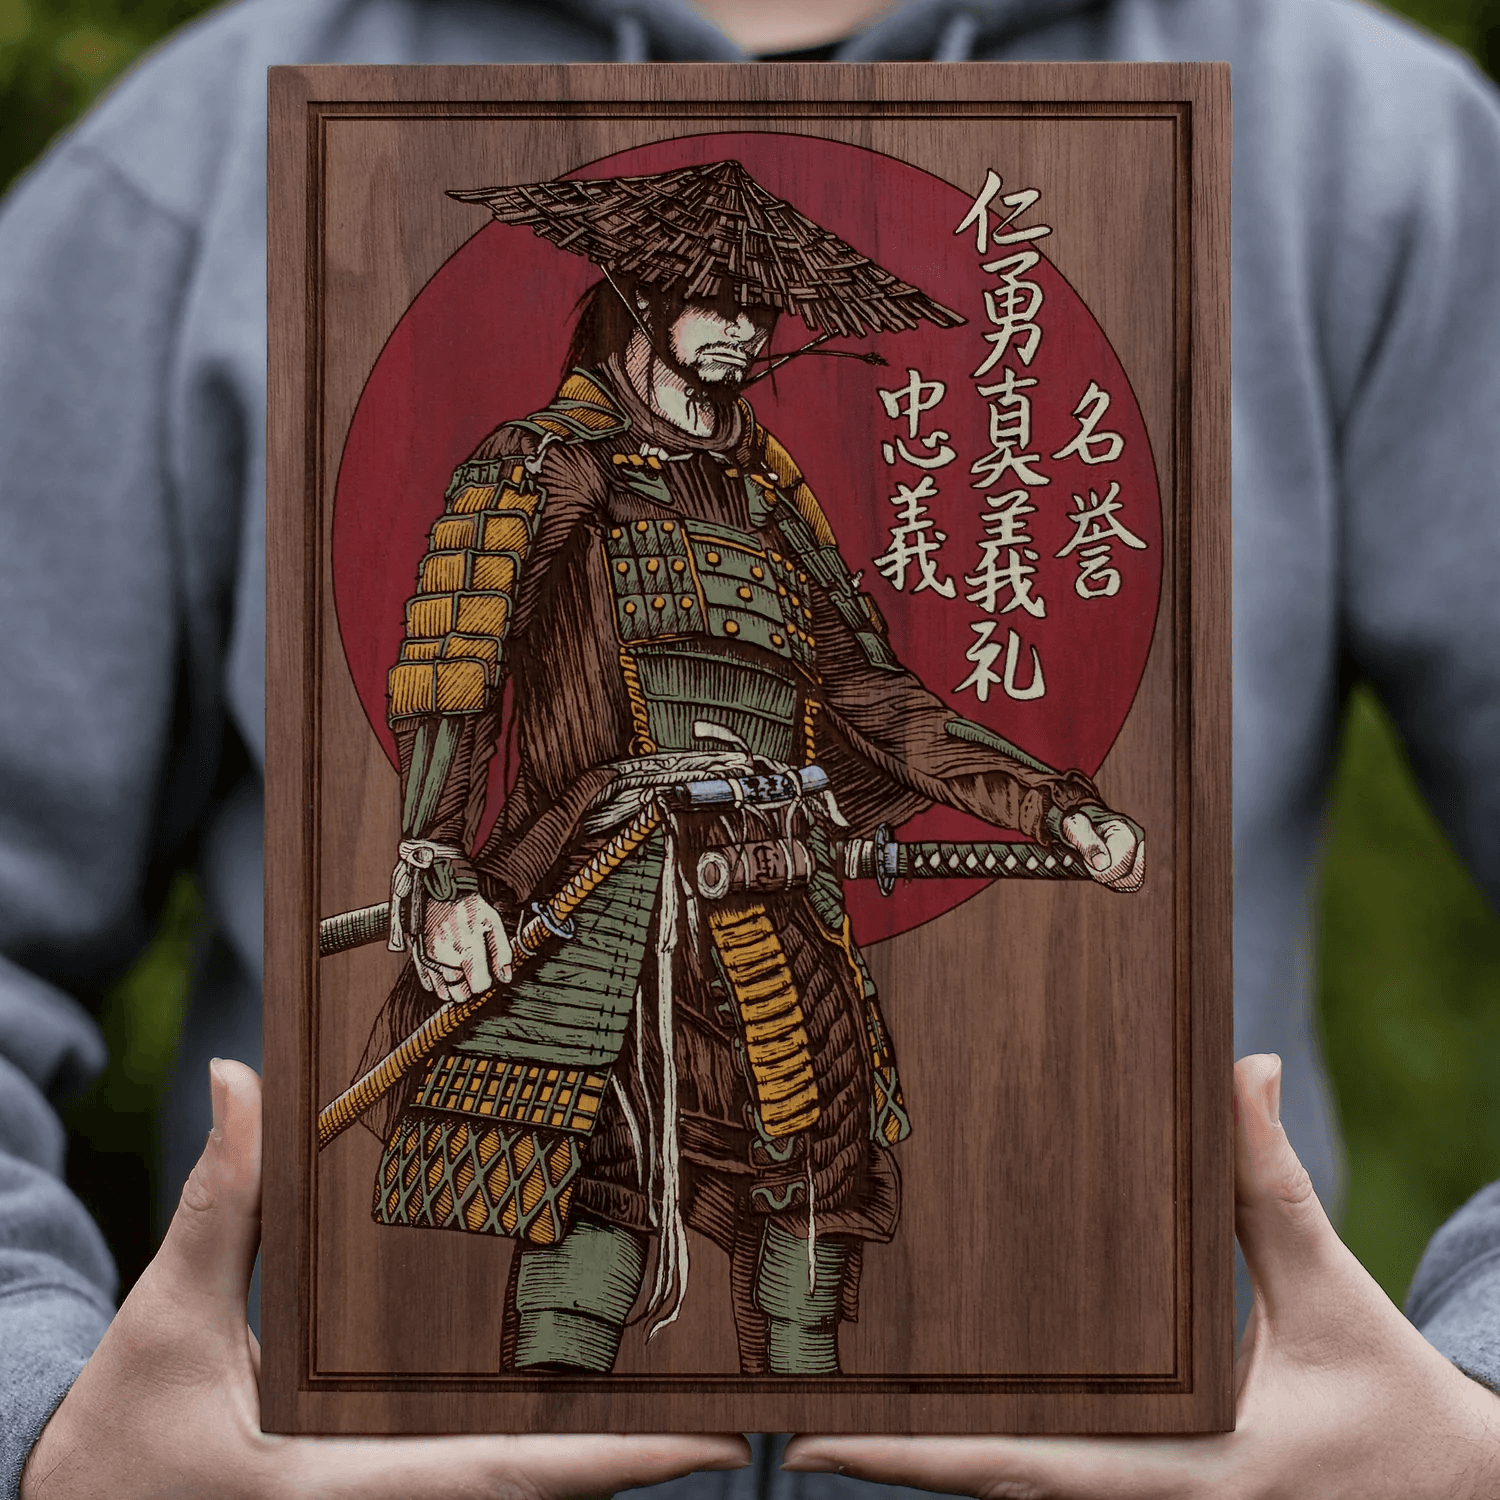
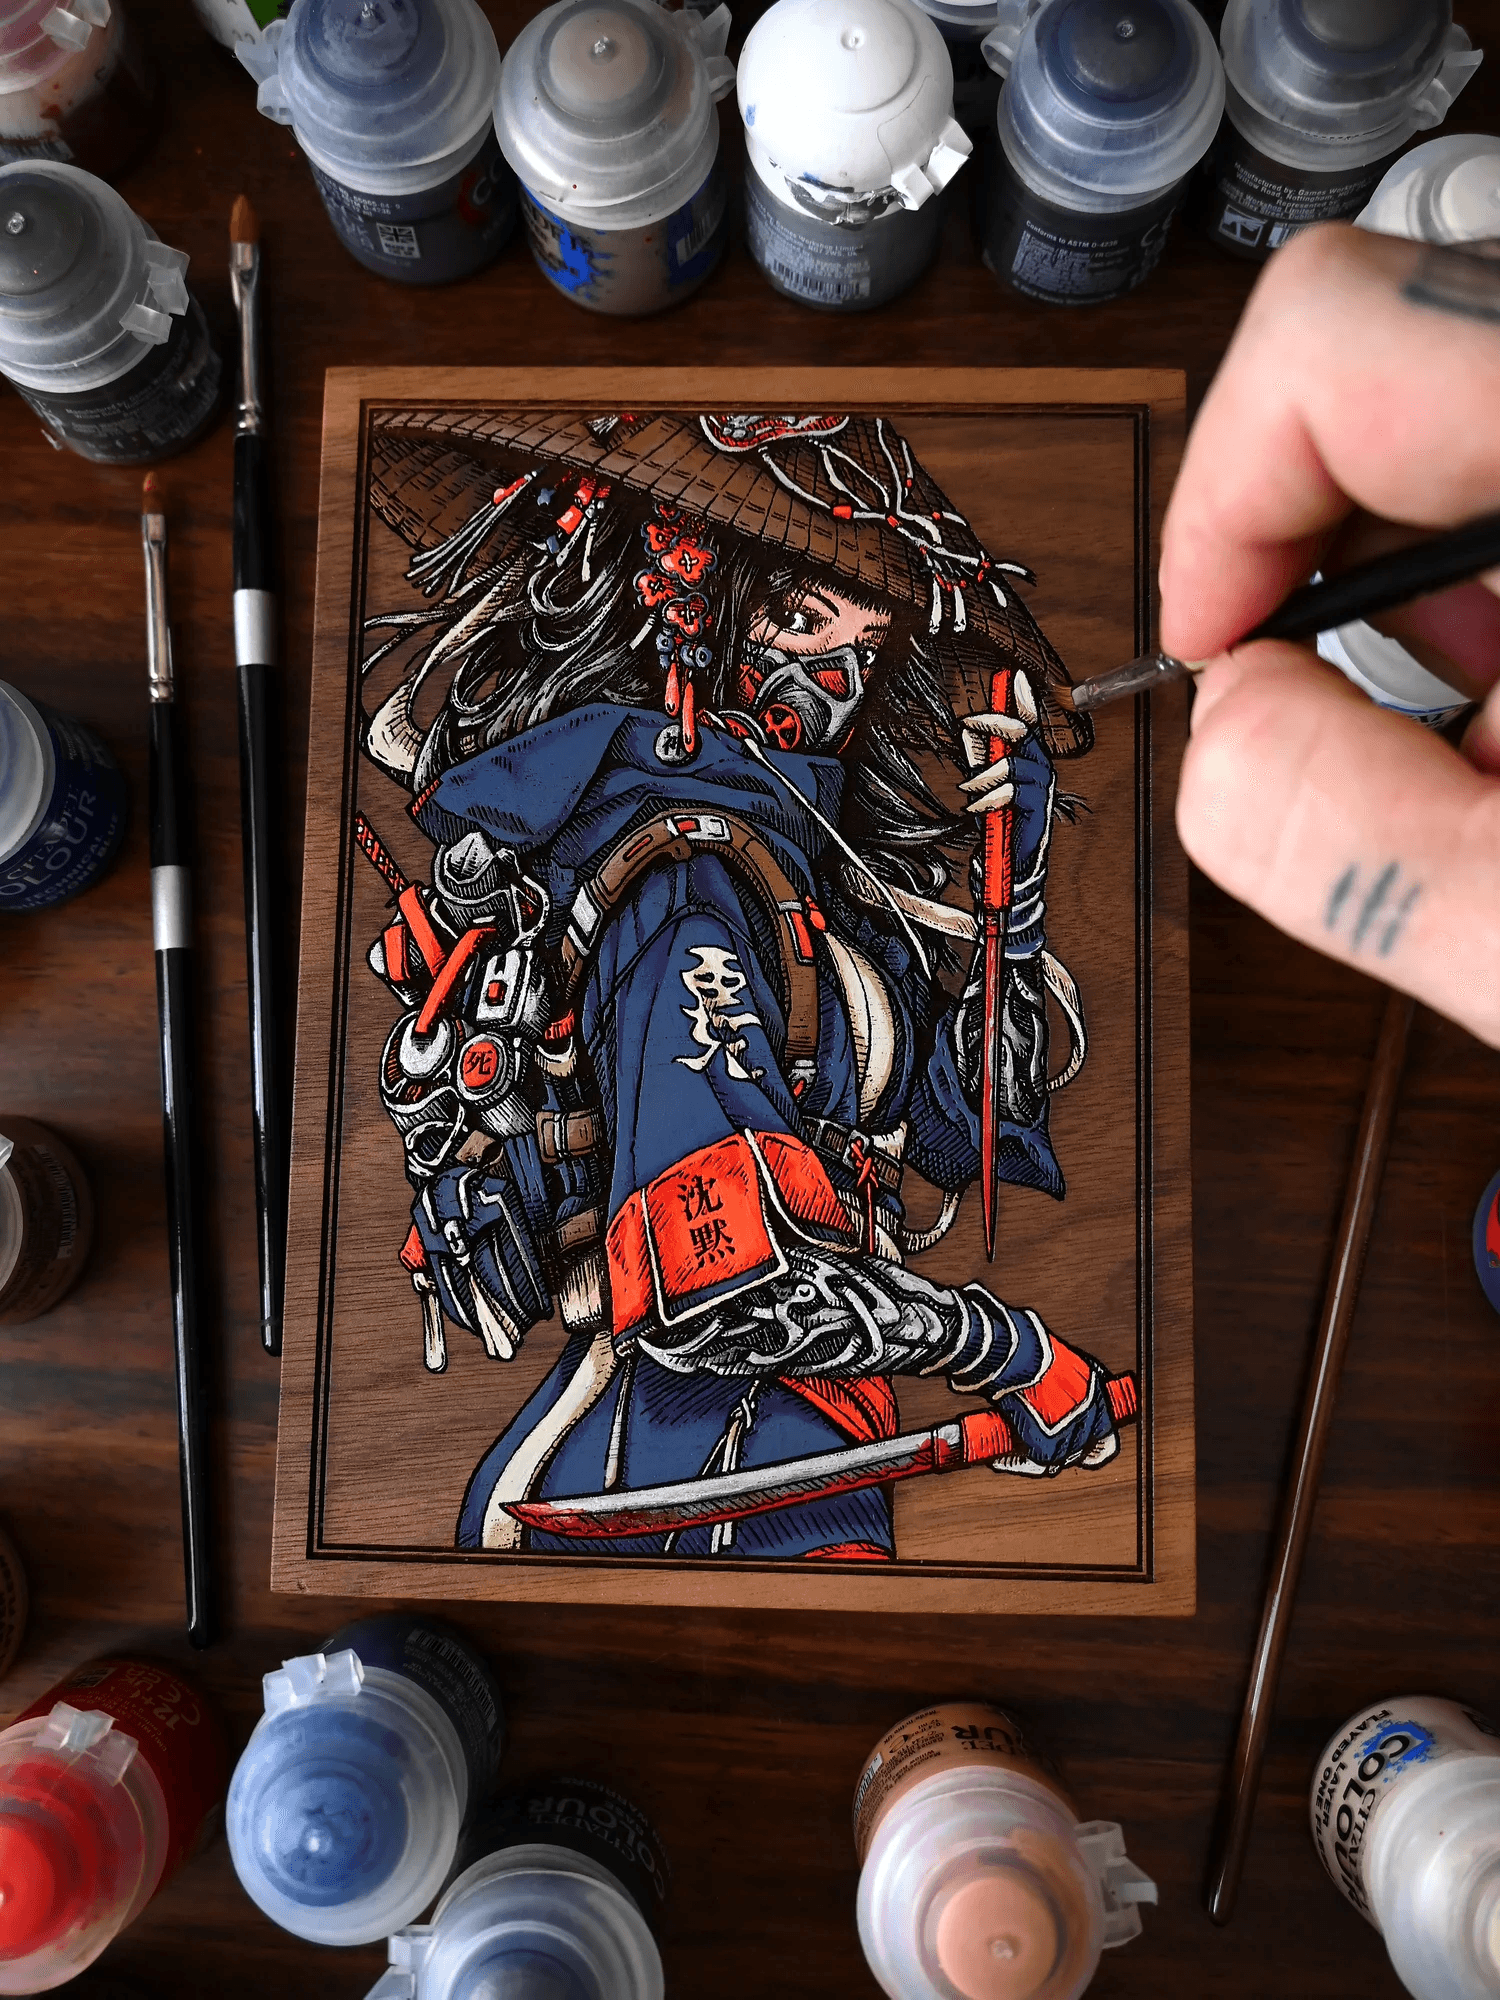
Featured Artist: Alexander Davidson
Profession: Illustrator, Painter and Printmaker. Owner of SpaceWolf
Alexander creates some of the most detailed engraved artworks I have ever seen. He sells his products through his brand SpaceWolf which has a range of engraved wooden artwork that he hand cuts and paints himself. I like how every step in his process is handmade and the etched designs really give his work depth as apposed to creating a flat painting on a canvas. The detail and different in depth of the lines really bring his pieces to life and show good attention to detail. Overall his approach to print work and illustration is different to any other designers I have ever witnessed, using both colour and laser cutting to develop high detail and high quality pieces.