Illustrator Workshop
Lead by Alex Gillot
Personal Piece: Character Illustration
7 min read 24.10.23
The next of Alex’s workshops covered the basics of Illustrator as well as many useful tips to increase efficiency when working inside the programme. He covered a range of different techniques he uses when working in Illustrator and gave us some tasks to complete throughout the workshop. Being able to increase my workflow efficiency was my biggest takeaway from this session, even the smallest changes to how you work can knock huge chunks of time off your workflow, this is something I planned to test out in my experimentation. I have existing experience in Illustrator so this article covers everything new I took away from the session; Importing PSDs, Type Manipulation, Pathfinder, Masking, Image Tracing, Warping
For my exploration/final piece I decided to create a vector illustration that incorporated some of the skills Alex taught in the workshop. I have created vector illustrations before in detail, but it often took me a few days to complete due to having an inefficient workflow.
Using the different shortcuts and workflows Alex showed me in the workshop I created this illustration in almost half of my usual timeframe. Using the pathfinder tool made colouring the illustration so much quicker, (I used to retrace the whole illustration again) copying the different shapes using the CTRL + F shortcut and using the pathfinder to select the areas I wanted to use.
Learning to implement clipping masks also sped up my process as I didn’t have to be so precise when applying colour to smaller areas, instead I could create a rough shape around the object and mask it to get the same result while saving time.
Another valuable skill I learnt during the design process is the complexity of the pen tool options. To add depth to the design I used different stroke thicknesses as well as learning how to use corner and width profiles. These made a big difference in the appearance of the final illustration, adding more depth and character to the final piece.
Clipping masks
Clipping masks are a great tool for Illustration and pattern making, allowing you to embed designs into set boundaries to create clean edges. Usually I would use the Shape Builder tool to create these mask type effects by drawing a box and removing the neccesary shapes but with a mask I can create the same effect using 2 clicks. To create one you take your design and the shape you want to embed, right click and select 'Clipping Mask'

Pathfinder
This is another tool I can now use to replace the shape builder. With its different configurations the pathfinder can add and subtract from different parts of 2 objects to create fast cutouts and shapes. Again this is much faster than using the shape builder as all you have to do is select 2 or more objects followed by your desired pathfinder options to create your outcome.

Importing PSD files
Importing PSD files into Illustrator is not something I imagined to be possible. I always find myself jumping between both programmes, using each to its strengths but never being able to combine the two at once. Now I understand how to import PSD files into Illustrator I can edit them and update them in Illustrator in real time, saving the need to re-export the file every time or constantly jump between programmes.

Type Manipulation
My go-to programme for type manipulation is Photoshop but Alex's workshop taught me that Illustrator is a great tool for distorting type. This differs from Photoshop because it is only a strong tool for type effects not this kind of destructive design. By expanding the type into a shape you can pull anchor points around to distort it and make some interesting outcomes.
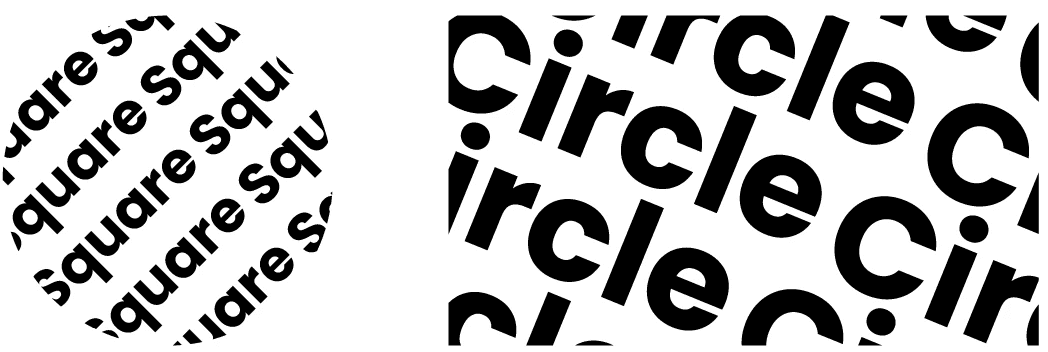
Image Tracing
This is the process of taking an image and tracing its contents into a vector format, ready to be edited in Illustrator. The image trace tool has many different options that you can choose from giving different results based on which options you pick and the type of image you have. It is not 100% accurate with complex images but is great for tracing simple logos and patterns into your documents, tweaking the settings to get the outcome you want.

Type warp and wrap
Illustrator offers many different type tools that you can use to apply type to shapes in different ways. For example you can type on the path of a shape to crate text that follows its curvature or warp it to match the inner/outer curvature of a shape. The different type tools are great for experimentation and you can create some really cool outcomes with them, as well as saving time having to line up type manually to follow a set path.
Featured Artist: Dom Designs
Profession: Vector Illustration Artist
Dom is an Illustrative artist specialising in Vector artwork. His work was my main source of inspiration for my experimentation as well as being a previous learning resource when I was learning how to use Illustrator. I love the simplicity and style of his work using minimal palettes while still creating depth and detail in his work. His work also helped me better my understanding of how to place lighting within my work as he uses a really basic lighting style which is great for replicating and learning from.